Hi all! Today I'm sharing my Stamping Bella tutorial. I found this Coffee Cup Gift Card template only last week and I loved the idea so I adapted it to make a more decorated version. I couldn't decide which coffee character to use, Curvy Girl LOVES Coffee or Oddball with a Coffee so I made one of each.

Supplies:
Curvy Girl LOVES Coffee outline die
Kraft Card
White Card
Patterned Papers (Piatek Trzynastego - Awakening)
Stitched Oval, Stitched Tags, & Coffee Dies.
Ribbon
Hole Punch and large eyelet
How to:


Apply a thin line of adhesive on the back and bottom of one of the base pieces, leaving approx 0.25" at the top of each side glue free.


Leaving the holder piece in the 'cup', adhere the lid elements in place. Set the cup aside to work on the images.

Stamp Curvy Girl LOVES Coffee and/or Oddball with a Coffee onto white card and colour using your preferred medium.


Stamp the sentiments from Curvy Girl LOVES Coffee and
Oddball with a Coffee onto white card.
Cut the Curvy Girl LOVES Coffee sentiment using a small stitched tag die.

Cut out a white card oval and a paper oval. Cut inside the stitching on the paper oval, the whole way around. to make a smaller oval for layering. Adhere the paper oval to the card oval.


Adhere the layered ovals onto the front using 3D foam tape, and then adhere the image, again using foam tape.


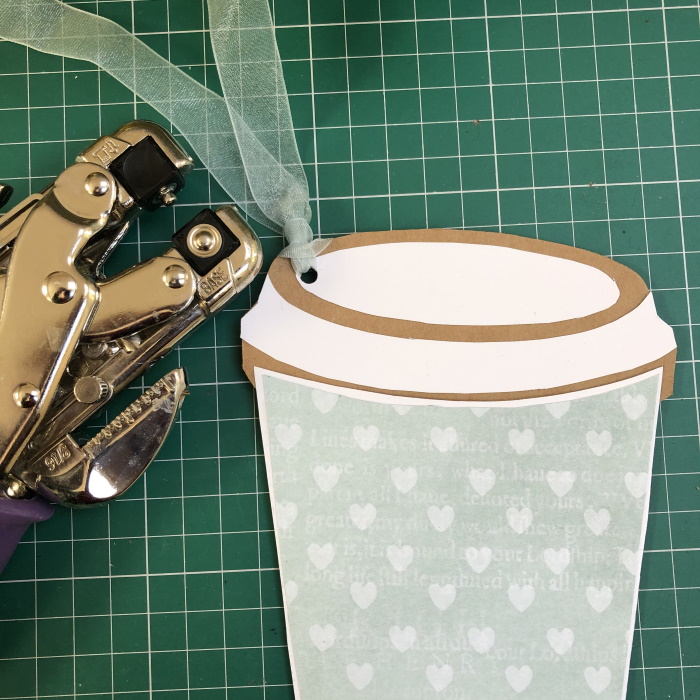
Line up the hole on the tag with the hole on the lid and thread a ribbon through both. Apply a little bit of foam tape to the back of the tag to hold it in place on the lid.


Decorate the front as desired.
For more inspiration check out the Stamping Bella Sisterhood page over on Facebook, where you can add your own Stamping Bella creations.
My Social Media Sites


1 comment:
Absolutely fabulous idea x
Post a Comment