Happy Friday!! It's time for another Bellariffic Friday and this week our theme is
Newest Release Showcase
💖💖💖
My card today features one of the new Bundle Girls, Bundle Girl with a Gardenia and the sentiment is from the new Spring Sentiments stamp set.


Newest Release Showcase
💖💖💖
My card today features one of the new Bundle Girls, Bundle Girl with a Gardenia and the sentiment is from the new Spring Sentiments stamp set.

Coloured with Copic markers:
Skin - E00, E11, E04
Outfit/Gardenia - BV000, C1, C3, 0, G20, G21, G24
Ground - C1, C3, 0

Other Products Used:
Card - Papermilldirect
Papers - Echo Park
Double Stitched Rectangle Die
Enamel Dots
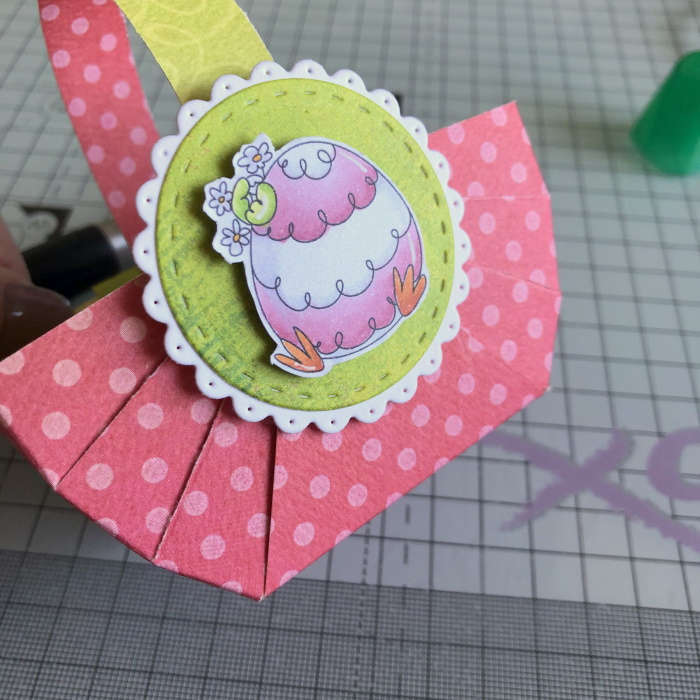
This month's Stamp and Die of the Month is The Squidgy in a Basket. Both the stamp and CUT-IT-OUT Die are 25% off for the month of March.
For more inspiration check out the Stamping Bella Sisterhood page over on Facebook, where you can add your own Stamping Bella creations.
Papers - Echo Park
Double Stitched Rectangle Die
Enamel Dots
This month's Stamp and Die of the Month is The Squidgy in a Basket. Both the stamp and CUT-IT-OUT Die are 25% off for the month of March.
For more inspiration check out the Stamping Bella Sisterhood page over on Facebook, where you can add your own Stamping Bella creations.
My Social Media Sites