Pages

Thursday 19 May 2022

Shutter Flap Card | Stamping Bella

Hi all :) Today I'm sharing how I made this Shutter Flap Card. With Father's Day coming up soon I took the plunge into a male themed card. This could also be used for a birthday card. It's no secret that I adore Stamping Bella's Oddball collection and I just can't get enough of the Oddball family characters. So versatile and fun to work with. 


Supplies:
Card
Designer paper
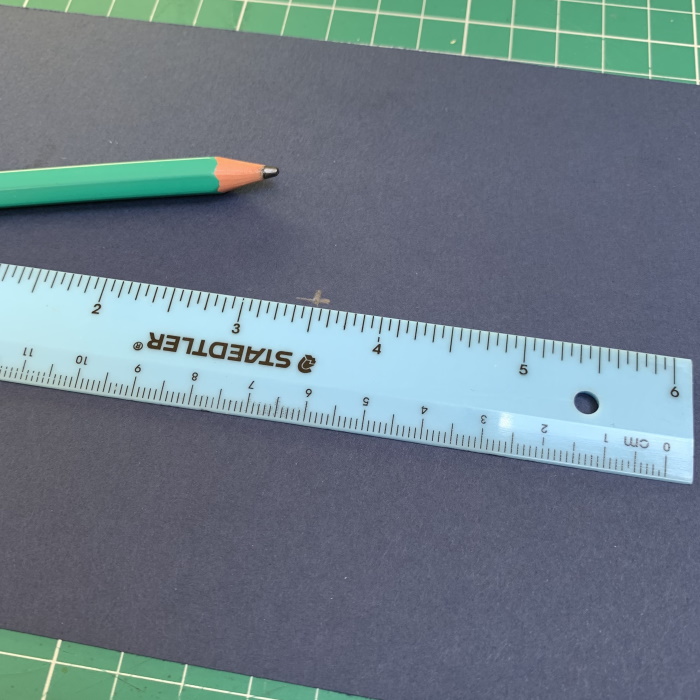
Scoring board, bone folder, pencil, ruler, eraser
Crop-a-dile, grommet, twine
Rectangle Die

How to:
Stamp all five images from the Oddball Mom and Dad and the Oddball Siblings stamp sets. 


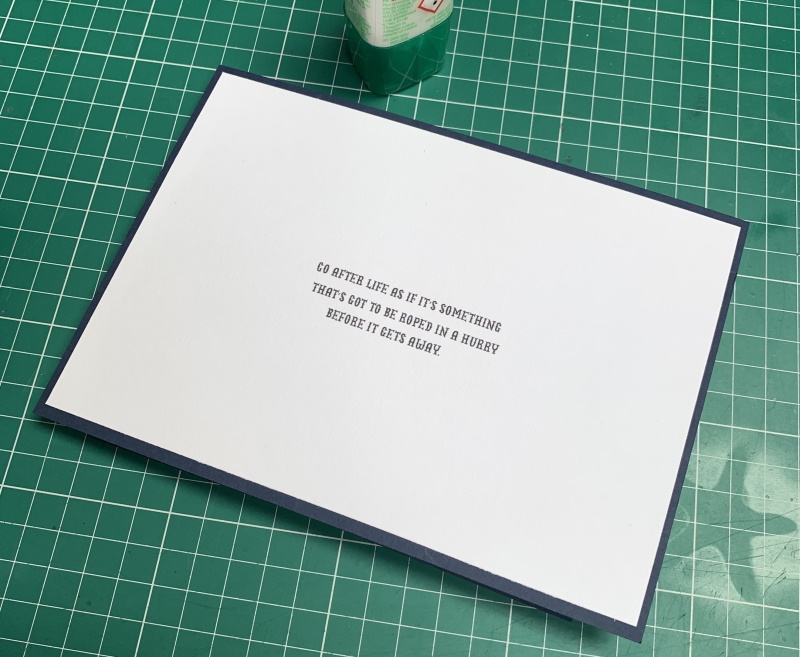
Stamp the sentiment from Down on the Farm beneath the baby and cut out in a 1.5"x 3.5" rectangle. Cut the dad image in a 1.25" x 2-5/8" rectangle. Fussy cut around the outline of the other images. Set aside. 


For the card, cut card- 
Base: 7" x 10"
Inside and front layer - (2x) 6-3/8"x 4.5"

Shutter mechanism:
Base and front frame - (3x) 5-7/8" x 4-1/8" 
Shutters - (3x) 4-1/8" x 2-1/8" 

Cut paper layers - 
Shutters - (6x) 2.75" x 1-3/8", using contrasting colours/design for inside and outside.
Base - (2x) 4" x 1.5", and one each of 2" x 4" and 0.5" x 4" 
Front frame -  5-7/8" x 4-1/8


Score and fold the card base at 5" on the 10" side. Adhere one of the 6-3/8"x 4.5" pieces of card inside. Set aside. 


Apply adhesive around the edges of one of the 5-7/8" x 4-1/8" pieces of card. Adhere a second one of the same size to it, then adhere the 5-7/8" x 4-1/8" piece of paper to the card pieces. 


On the back, measure and mark at 5/8" on all four sides, drawing guide lines as shown. 


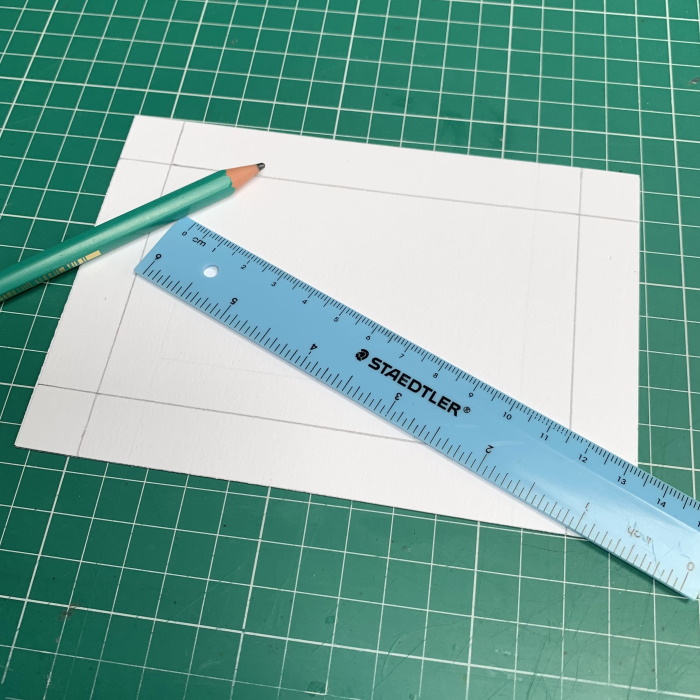
Using a craft knife, cut along the lines to remove the centre piece. 


Turn over to the paper side and flatten the raised cut edges with a bone folder. 


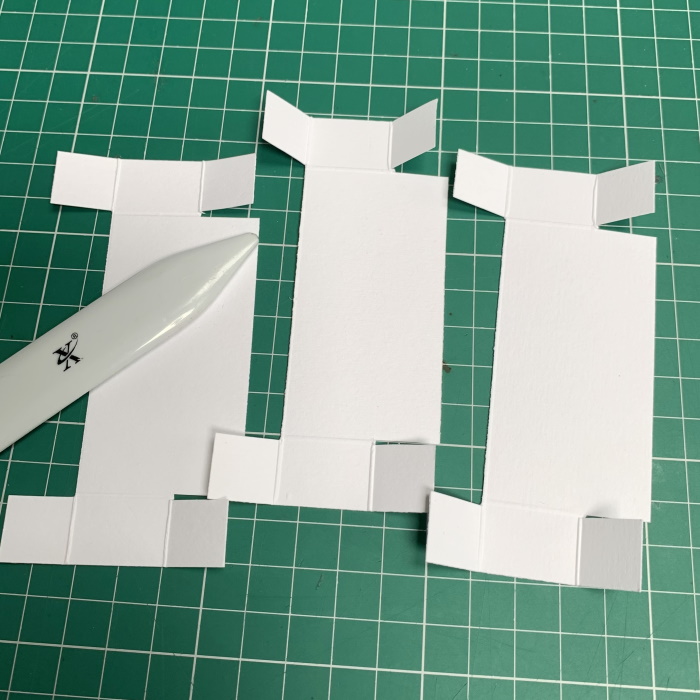
Take the 4-1/8" x 2-1/8" pieces of card and score each one at 5/8" on both short sides and one long side. On the remaining long side, score at 5/8" each side of the intersecting score line. 


On the side with the long score line, cut up on each 5/8" line until you meet the horizontal line. then cut across the score line to remove the centre piece. 


On the opposite side, cut on each side the score lines up to the horizontal lines and remove the little sliver of card. 


Fold all four tabs on the score lines, ensuring the angles are square, and burnish well with the bone folder. Repeat these steps for all 3 pieces of card. 


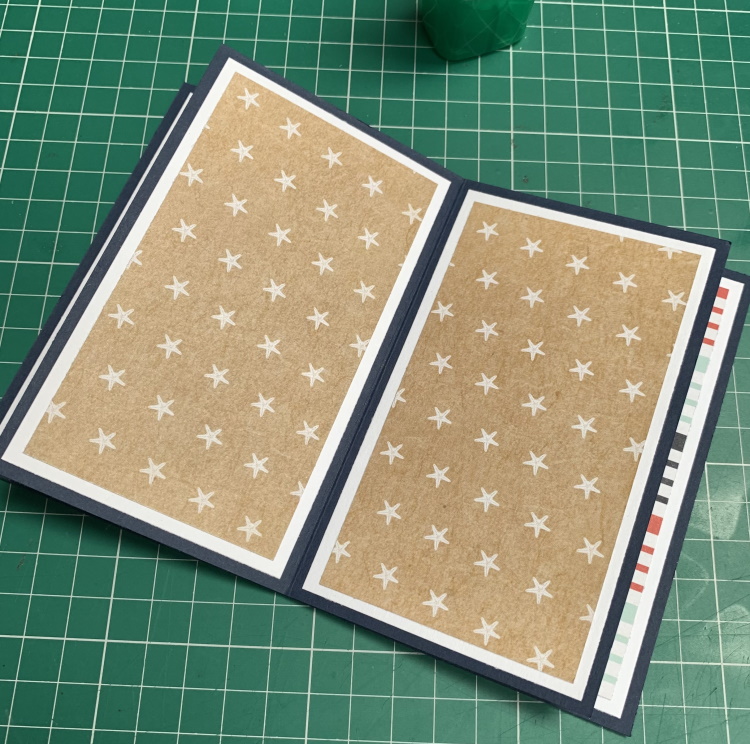
Turn the shutters so that the side with removed middle section is on the left. This is the front of the shutters. Adhere the paper layers. 


Turn over each piece and adhere the contrasting paper to the back side. 


With the front of the shutter facing upwards, fold back the two outer tabs and apply wet glue 


Adhere the tabs to left side corners of the remaining 5-7/8" x 4-1/8" piece of card, ensuring there is no over hang around the edges. Fold up the tabs on the other side of the shutter, as shown. 


To add the second shutter, apply adhesive to the tabs as for the first one, line up the shutters so that there is just a tiny gap between them, then fold down the tabs and adhere, again ensuring they are lined up  with the edge of the base piece. 


Repeat for the third shutter. 


Note: If you would prefer to adhere the paper layers and add any images/embellishments to the base piece before adding the front frame, skip the next two steps and come back to them once the layers/embellishments have been added. 

Fold back all of the remaining tabs and apply wet glue. 


Adhere the frame  to the tabs, lining it up with the edges of the base piece. 


Adhere the (2x) 4" x 1.5" pieces to the centre sections, the 2" x 4" to the end section, and the 0.5" x 4" piece to the smallest section of the base. 


Using foam tape/dots, adhere the dad image to the centre front shutter. 


Adhere the baby image to the base piece. 


Pull open the shutters and adhere the remaining images to the inside of the shutters, trimming the Mom to size. 


Decorate the front of the frame and shutters. 


Retrieve the card base and adhere the remaining 6-3/8"x 4.5" piece of card to the front. 


Apply wet glue to the back of the shutter base, then adhere to the front of the card base. 


Punch a hole on the left side of the frame, adding a grommet. 


Thread some twine though the grommet as a pull mechanism to open the shutters.  


For more inspiration check out the Stamping Bella Sisterhood page over on Facebook, where you can add your own Stamping Bella creations.

Where you can find me


Thursday 12 May 2022

Half Star Card | Stamping Bella

Hi all :) I'm back this week with a step by step on how I made this Half Star Card featuring Cowboy Squidgy This is such a fun card that needs no embellishment to look stunning and it folds flat to fit an A7 envelope. 


Supplies
Navy card, white card
Paper (used: Echo Park, Ahoy There)
Scoring board, bone folder, ruler, pencil
Circle dies
Distress oxide ink
Ink blender

How to:
Stamp the small character stamp from the Cowboy Squidgy rubber stamp set. Colour, then cut out using a 2.5" stitched circle die. Leaving the die in place, ink the background with Tumbled Glass distress oxide ink. 


Cut a 2.75" stitched circle from white card and a 3" scalloped circle from navy card. Also cut two small circles (approx 1"). Adhere the image to the white circle and then to the navy scalloped circle. Set aside to work on the card. 


For the star card, cut:
Navy card - one each of 5" x 7", 5" x 6", three pieces 1.5" x 6.5"
White card - two pieces 4.75" x 3.25", two pieces 4.75" x 2.75", six pieces 1.25" x 1.25", one piece 6.75" x 4.75"
Paper - two pieces 4.5" x 3", two pieces 4.5" x 2.5", six pieces 1" x 1". 


On the 5" x 7" piece of navy card, measure and mark with a pencil at 3.5" across the 7" side, and 2.5" on the 5" side. Make an x where they  meet. 


Adhere the 4.75" x 3.25" panels, leaving an equal border around the edges. 


Score the 5" x 6" piece of navy card at 3" on  the 6" side. 


Measure down 2.5" on the score line and mark with a pencil. 


Adhere the smaller panels, leaving an even border around the edges. 


Fold and burnish the score line. 


Score all three 1.5" x 6.5" pieces at 1.5", 3", 4.5", and 6". Adhere the 1.25" white card squares and the 1" paper square layers to the centre two 1.5" sections. 


Fold and burnish the score lines. 


Apply adhesive to the 0.5" tab, fold over the opposite end and adhere them together. 


Repeat with all three pieces. 


Fold the star pieces so that the sections with the paper layers are back to back, and the sections without paper are back to back. On the plain card section measure and mark at 0.75". Repeat on on all 3 pieces. 


Turn over an apply adhesive to the plain card section. 


With the glue side facing down, line up the 0.75" pencil mark with the X on the large card panel, keeping it a fraction back from the score line. 


Repeat on the other side, but slide the smaller card panel in between before adhering the second one, to ensure there is a channel. 


Apply adhesive to the plain card sections, slide the smaller card layer into the channel then open it up and press onto the glue. Repeat on the other side. 


Take the remaining star piece and apply adhesive to the plain card section. Line the 0.75" pencil mark up to the 2.5" pencil mark and adhere to the smaller card panel right up to the score line. 


Apply adhesive to the other side, push the star piece over so that both paper panels are showing, and press the glued section down firmly. 


Stand the card up, and the half star should be formed. 


Flatten down the card and turn over to the back. Stamp the sentiment from Cowboy Squidgy in the centre of the 6.75" x 4.75" piece of white card. Adhere to the back of the card. 


Fold the two 1" circles in half and crease with a bone folder. 


Apply adhesive to one half of the circle and adhere to the centre star piece, lining it up beside the centre score line. Repeat with the second 1" circle. 


Apply adhesive to the top of both folded circles and adhere the image to them. These ensure the image can move side to side. 


For more inspiration check out the Stamping Bella Sisterhood page over on Facebook, where you can add your own Stamping Bella creations.

Where you can find me