Pages

Thursday 6 October 2022

Mini Oddball Christmas Pudding | Stamping Bella

Hi all! I'm back with another Stamping Bella tutorial and today I'm sharing how I  made this Corner Fold Card featuring Mini Oddball Christmas Pudding


Supplies:
White card
Designer paper (used: Carta Bella, Welcome Winter)
Pencil, ruler, craft knife
Stitched circle dies
Enamel dots

How to:
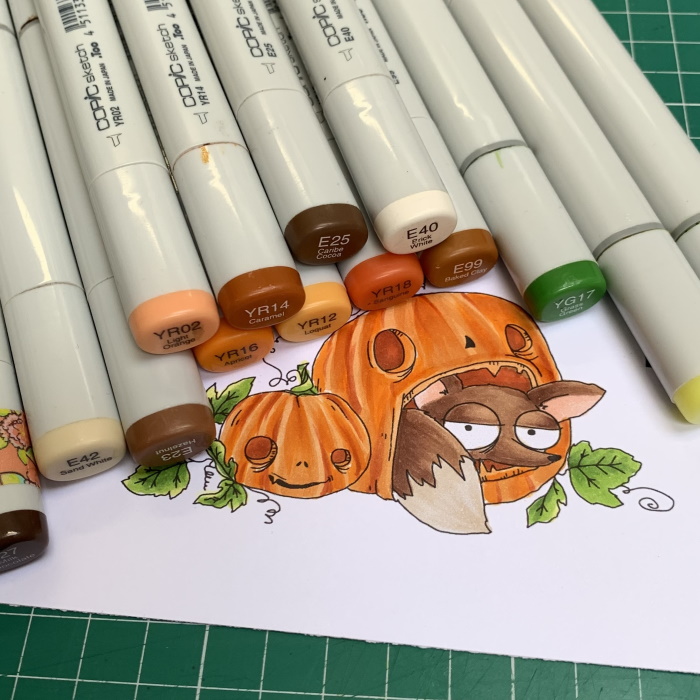
Stamp Mini Oddball Christmas Pudding onto white card and colour with your preferred medium.


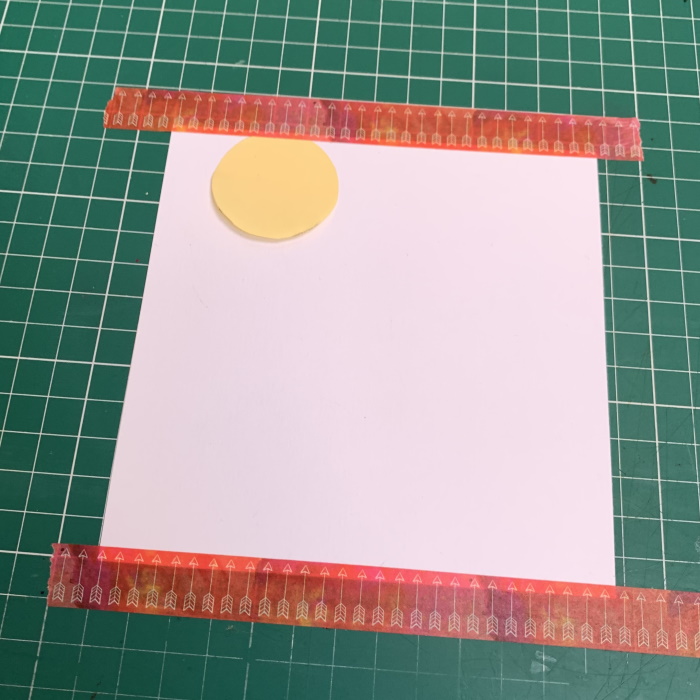
Cut a piece of white card measuring 11" x 5.5". Score at 5.5" on the long side and fold in half to make the card base. Adhere a 5-3/8" piece of designer paper on the front. 


*Brown card for illustration purposes only. 

Measure down 5/8" from the top and, from the open side, measure across 4". Then measure down 4" and in 5/8" on the open side of the card. Draw a line from the 5/8" to the 4" lines as shown below. 


Using a craft knife and a ruler cut from the 5/8" point to the 4" point.


Take a ruler a place it diagonally across 5/8" points. Score from the points to the outside of the card


Gently fold back the score lines to flip the corner. 


To ensure it's straight, place a piece of white card behind the card front. Adjust the creases as necessary 


Flip the corner back over and apply adhesive, from the top right corner, across and down to just above the 4" points. Flip the corner down again and adhere down. 


Cut a piece of white card measuring 3-7/8" square and a piece of paper measuring 3.75" square. Adhere them together


Adhere the square panel to the card front, leaving small border around the edges. 


Cut a white card circle approx. 3.75" in diameter, an a paper circle approx 3.5" Adhere them together, then adhere them to the card front. 


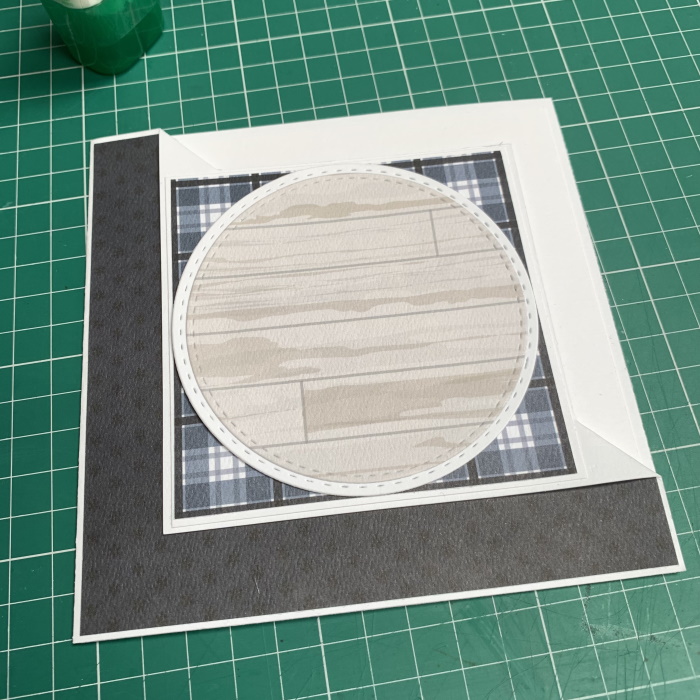
On the inside, adhere a 5.25" white card square, a 5-1/8" paper square and then a 4" square panel for a greeting. Ensure the 4" square is tucked behind the panel on the card front. 


Fussy cut around the outline of  Mini Oddball Christmas Pudding


Adhere over to the right of the circle panel using foam tape/dots


Stamp the sentiment onto a white strip and cut apart. 


Adhere to the circle panel beside the image. 


Embellish with enamel dots. 


For more inspiration check out the Stamping Bella Sisterhood page over on Facebook, where you can add your own Stamping Bella creations.

Where you can find me


Sunday 2 October 2022

No Tricks, Just Treats | Stamping Bella

Hi all! Today I have a spooky Crossover Gatefold Card to share. It features one of the new release character stamps from Stamping Bella, Foxy in the Pumpkin, and also one of the new sentiment sets, Frightful and Delightful.  


Supplies:
Black card, white card.
Halloween papers
Scoring board and bone folder
Halloween die cuts (optional)
Adhesive, foam tape/dots

How to:
Stamp Foxy in the Pumpkin onto white card, colour, then fussy cut around the outline. 
Set aside. 


Cut:
Black card:
5.25" x 10.5" 
5.25" x 2.5" (x2)

Paper:
5-1/8" x 2-3/8" (x4)

White card:
5" x 5" (x2)

Score the 5.25" x 10.5" piece of black card at 2-5/8" and 7-7/8". 


Fold in the outer sections ensuring they meet in the middle but don't overlap.


Adhere 2 of the paper pieces to the outside front. 


Adhere the other 2 paper pieces to the remaining black card pieces. 


Apply adhesive to approx 2.5" from the end of the black card. 


Adhere to the one side of the front, approx 1/8" down from the top. 


Repeat with the other black card panel on the other side of the card, adhering it 1/8" up from, the bottom. They should meet in the middle. 


Punch a 1.5" circle from a post it note, taking in some of the adhesive. 


Take one of the 5" square pieces of card. Adhere the circle near the top left, then use a low tack tape to hold the card in place on the mat.


Using a yellow distress oxide ink, blend around the circle. 


Use blue, black, brown, purple and yellow inks to create a spooky background. Once the  background is done, remove the post it note circle and apply a little bit of pale cream/yellow ink. 


Cut down the background into two 4-7/8" x 2.25" pieces. 


Adhere to the card front. 


Add Halloween die cuts, or other embellishments. 


Adhere the remaining 5" square piece of white card to the inside centre. Stamp the sentiment from the Frightful and Delightful Sentiment Set


Finally, adhere the Foxy in the Pumpkin image on the bottom flap, using foam tape or dots. 


For more inspiration check out the Stamping Bella Sisterhood page over on Facebook, where you can add your own Stamping Bella creations.

Where you can find me