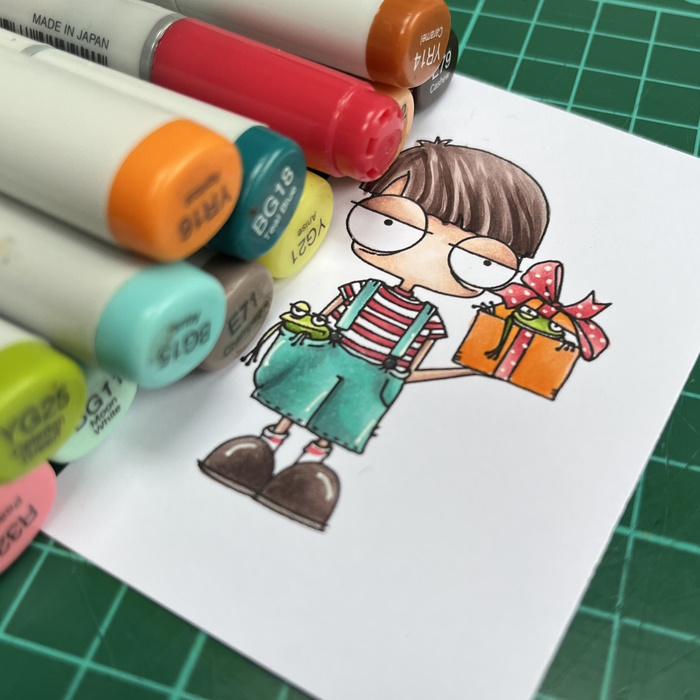
Hi! I'm back with another tutorial and today I'm sharing my take on this "Sweet as can Bee" Valentine Gift Box, featuring Bundle Girl Beekeeper


Supplies:
Card
Designer paper (used: Echo Park, Hello Valentine)
Tag Die, Stitched Pennant Die
Corner rounder
Small magnets
Scoring board and bone folder
Grommet, white twine
Card:
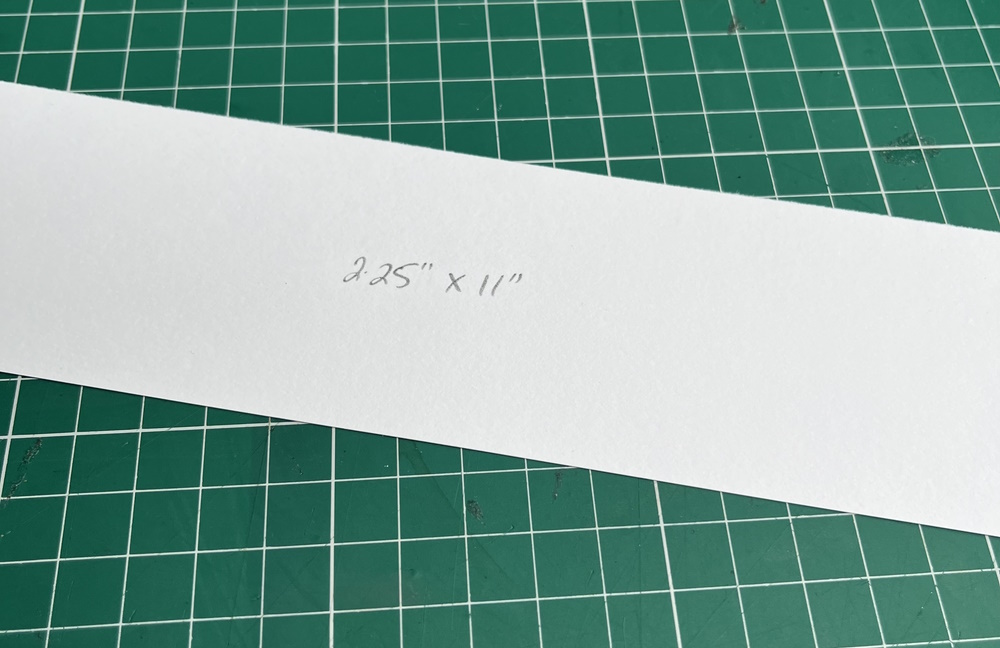
(1x) 7" x 11" - box
(1x) 2-7/8" x 3-5/8" front layer panel
Paper:
(4x) 7/8" x 2-7/8"
(4x) 7/8" x 3-5/8"
(4x) 2-7/8" x 3-5/8"
(1x) 2.75" x 3.5"
(1x) 1-3/8" x 2-7/8" - tag pocket
How to:
Stamp Bundle Girl Beekeeper onto white card, colour, then fussy cut around the outline of the Bundle Girl and the Bees. Set aside.


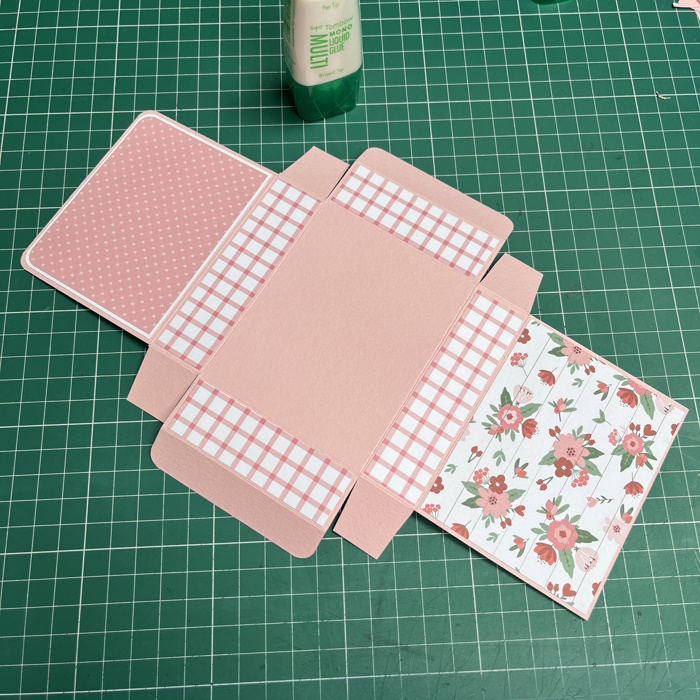
Score the large piece of card on the long side at 3" and 4" from each end. Turn 90 degrees and score on the short side at 5/8" and 1-5/8" from each end.

Cut as per the red lines below.

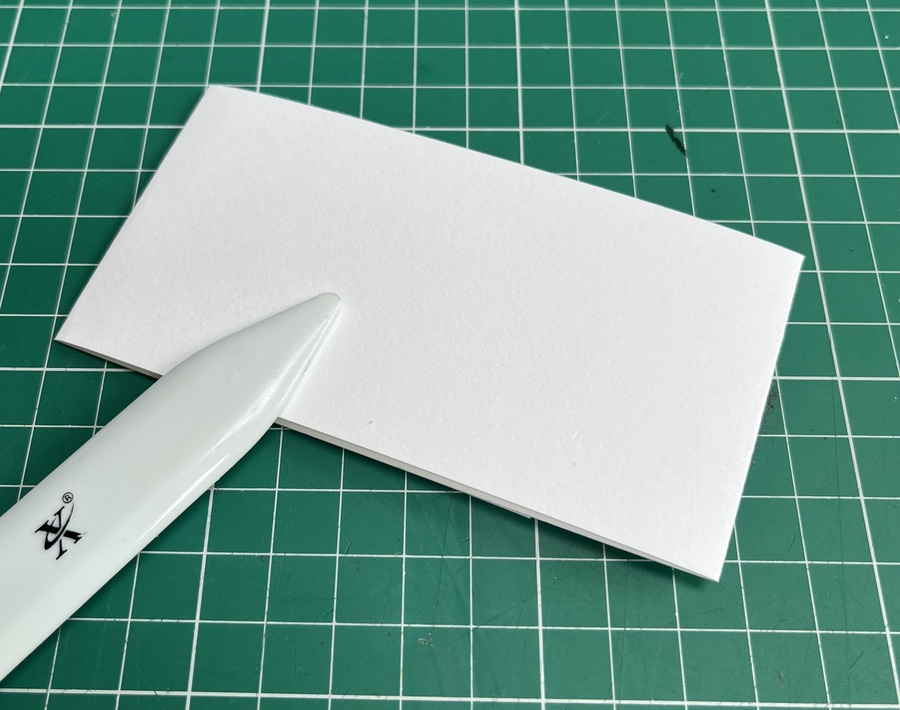
Round the corners on both centre end tabs, and on one of the large end panels.


Fold up the box without using adhesive, and close the flap the rounded edges over the other flap to adhere the second side of the magnet.


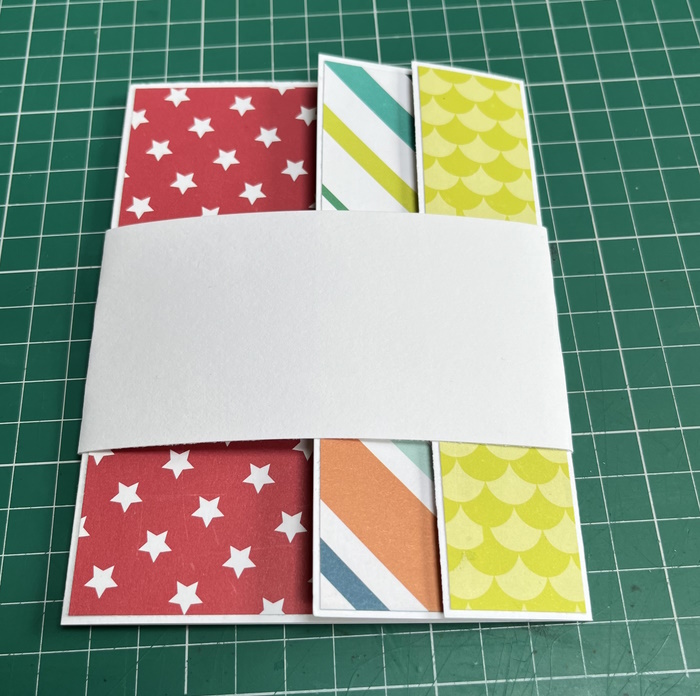
Round the corners of one of the paper layers and adhere over the magnet. Adhere another paper layer over the other magnet.


Adhere the paper layer, then adhere the pocket piece.
Thread some twine through the top of the tag and slide the tag into the pocket. This pocket also fits a gift card.

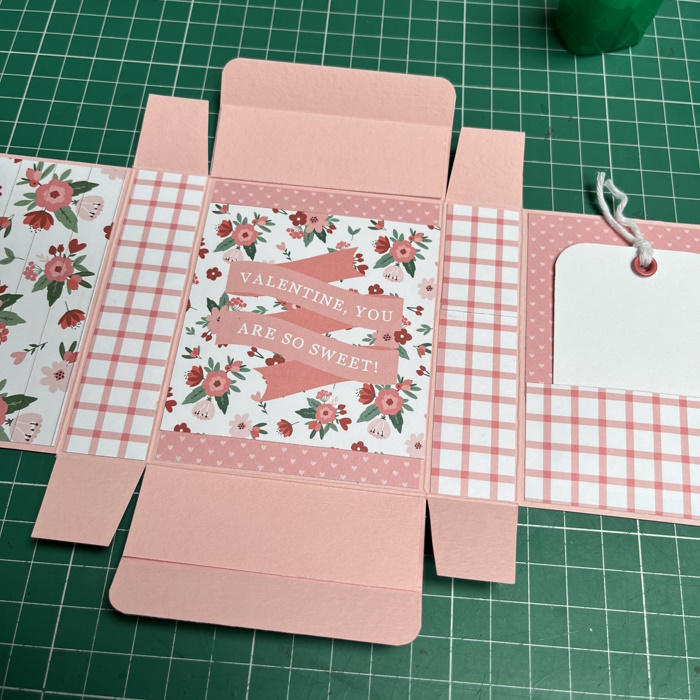


Adhere the tag to the front of the box, and then adhere Bundle Girl Beekeeper to the tag using foam tape/dots. Adhere one of the bees above the honey dipper.


Finally, adhere the other bee overlapping the sentiment.
Fill the box with candy hearts or chocolates.
For more inspiration check out the Stamping Bella Sisterhood page over on Facebook, where you can add your own Stamping Bella creations.
Where you can find me