Pages

Thursday 28 April 2022

Pop Up Gift Bag Card | Stamping Bella

Hi all! Today I'm sharing how to make a Pop Up Gift Bag Card featuring Mini Oddball has a Present. I love these Mini Oddballs This is a such a fun card and when it is opened the little bag pops up to reveal a gift card. Perfect for any occasion, or for a 'just because' gift. 


Card
Paper (used: Echo Park, Birthday Wishes)
Scoring board and bone folder
Dies - Stitched Circles, Scalloped Circles
Adhesive, foam tape/dots

How to:
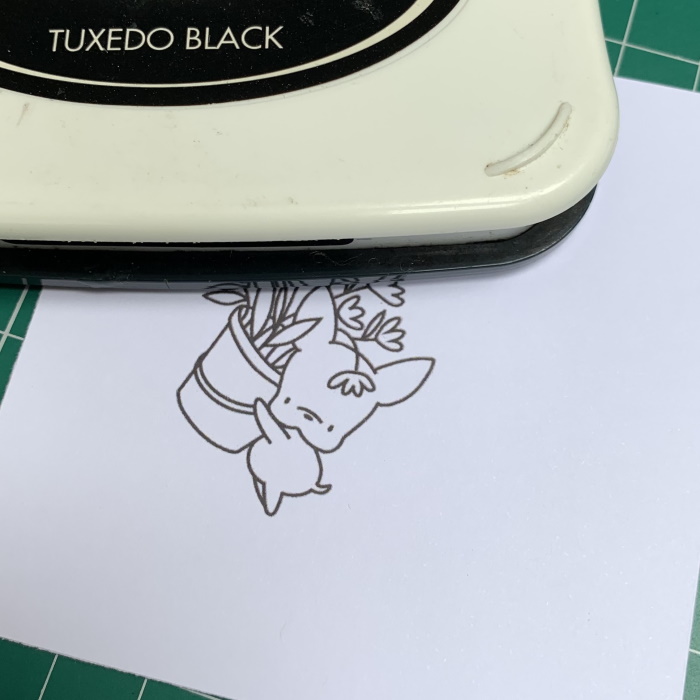
Stamp Mini Oddball has a Present onto white card, colour and fussy cut around the outline. 


For the card, cut:  
Card
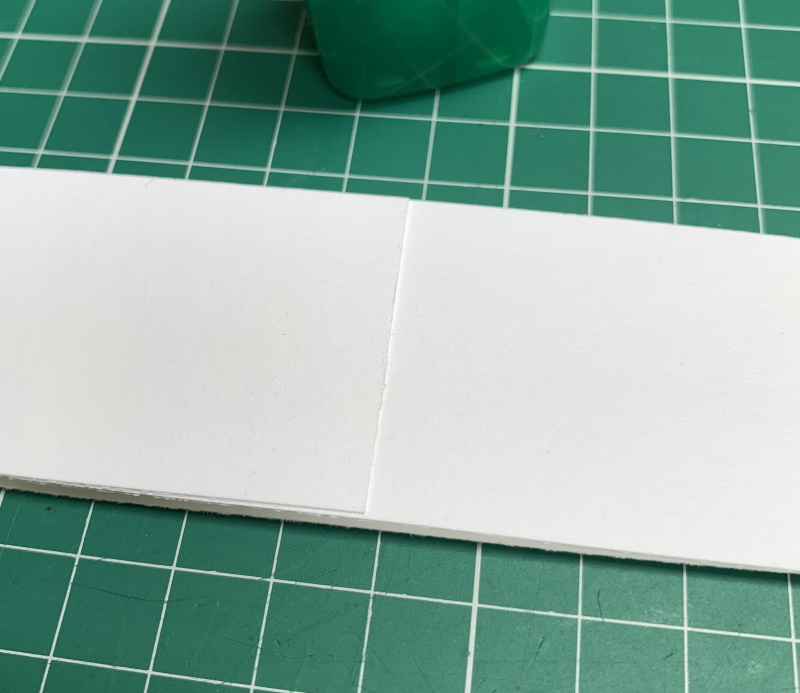
(1x) 4.25" x 11" - card base
(1x) 1.5" x 11" - belly band
(1x) 4-1/8"x 3-3/8" - card front
(1x) 4-1/8" x 2-3/8" - card front
(1x) 3-7/8" x 3-7/8" - sentiment 

Paper- 
(1x) 4"x 3.25" - card front
(1x) 4" x 2.25" - card front
(2x) 1-3/8" x 11" - belly band
(1x) 4" x 9.5" - Gift Bag

For inside the card base cut three pieces of paper (1x) 4" x 3.25", (1x) 4" x 2.25" and 4" x 4.75"(1x) 


Score the 4.25" x 11" piece of card at 3.5" and 8.5"


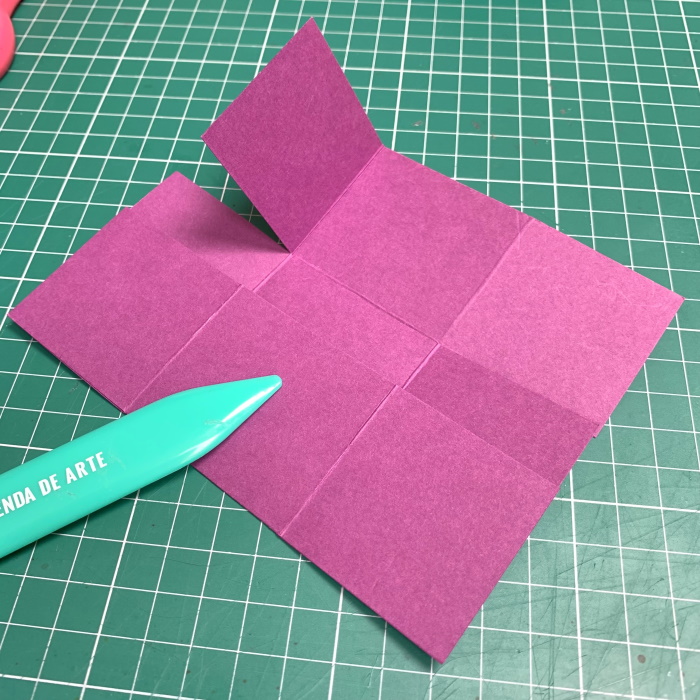
Score the 4" x 9.5" piece of paper (gift bag) on the long side at 0.5", 1", 4.5" 5", 5.5" and 9". Score on the short side at 0.5" and 3" 


Cut away all the sections marked below, leaving just the long outside panels. 


With the 1" section at the top, mark down 0.5" from the 1" score line, and in 0.75" from the score lines creating the 3" x 2.5" panels. Punch holes for the handles. 


Cut two pieces of twine measuring approx 4" and thread through the holes. Secure with some double sided tape. 


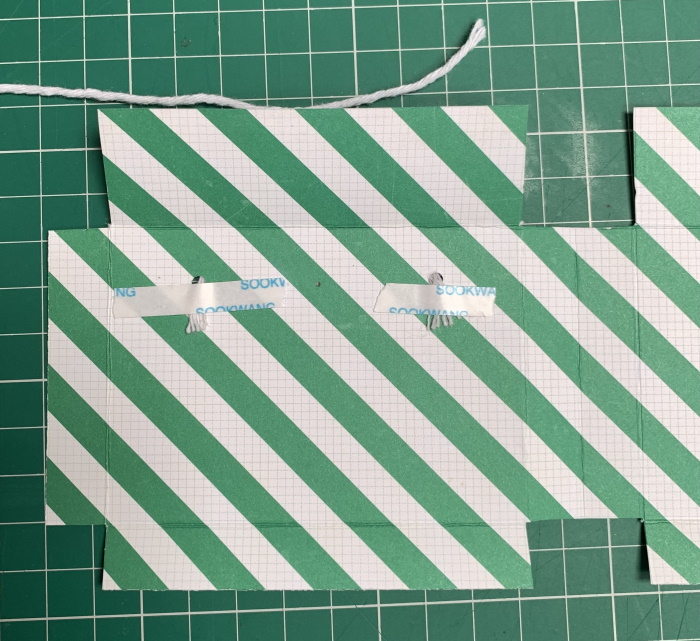
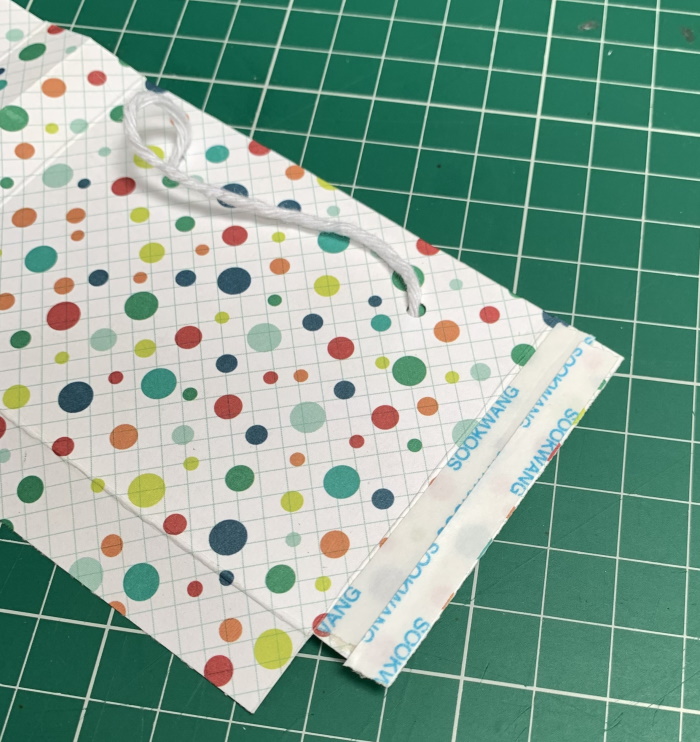
Apply adhesive to the 1" section, remove all the tape liner, then fold the 1" section down over the twine ends. 


With the outside of the bag facing you, apply adhesive to the end with the single 0.5" section. 


Line up with the 0.5" score line on the opposite end and fold the end 0.5" section over it. 


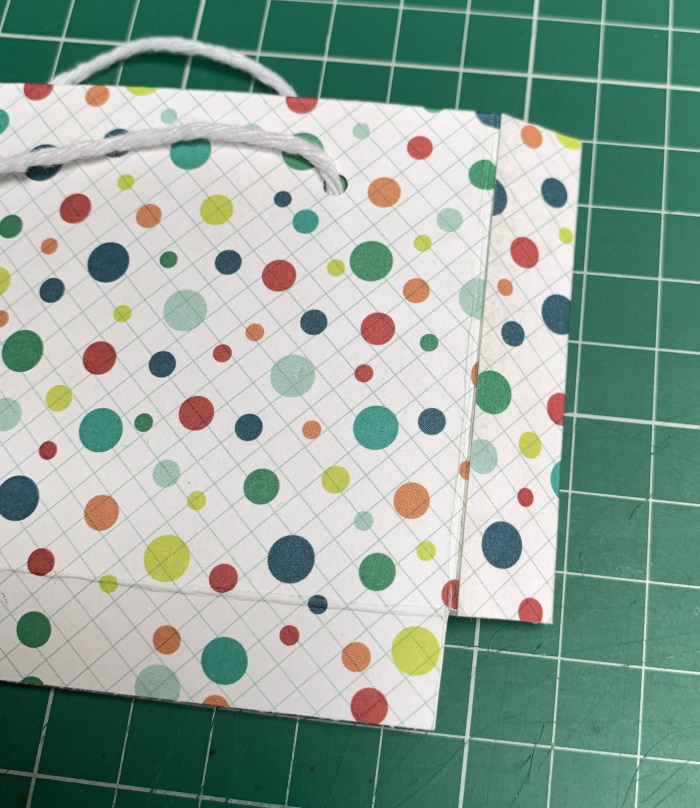
Apply adhesive to the 0.5" sections at the bottom of the  bag - on both the front and the back of the bag. 


Adhere the paper panels inside the card base. 


Line the  0.5" section of the bag up to the 3.5" score line on the card base. Remove the tape backing and fold the 3.5" section down over the bag. Remove the tape from the other side of the bag and fold the middle panel down over it. 


When the card is opened, the bag pops up, revealing the gift card. 


Layer the paper onto the panels for the card front and adhere down. 


Take the belly band piece of card, centre it across the front of the card, and wrap it around the card loosely.


Remove and glue the ends together. 


Cover front and back with the paper panels. Slide the band back on to ensure it is a good fit. 


Stamp the sentiment onto the 3-7/8" square piece of card and adhere on the large middle panel inside. 


Cut a scalloped circle measuring approx 4" and layer on some paper stitched circles (red - 3.75" & candles - 3.5") 


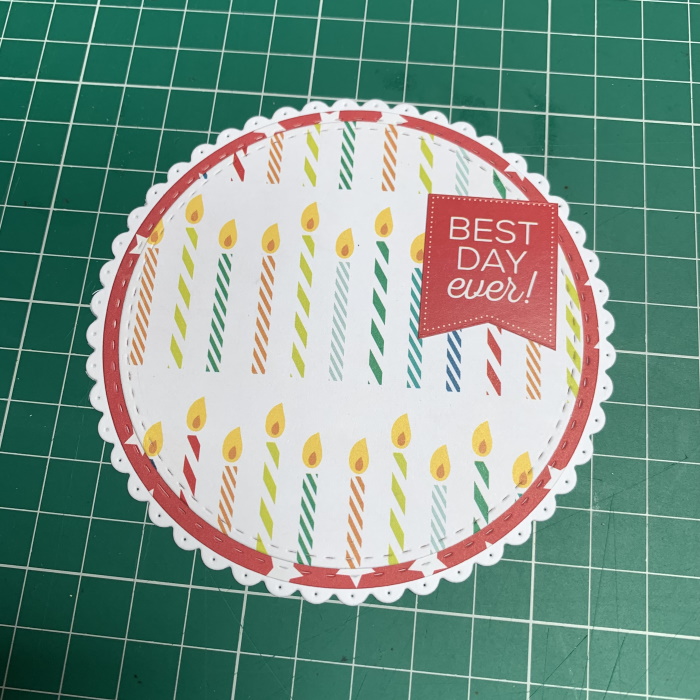
Apply foam tape across the belly band, keeping within the size used for the scalloped circle (4"). Adhere the circle panel onto the belly band and then adhere Mini Oddball has a Present, also using foam tape. 


Slide the belly band back onto the card. 


For more inspiration check out the Stamping Bella Sisterhood page over on Facebook, where you can add your own Stamping Bella creations.

My Social Media Sites


Thursday 21 April 2022

Mother's Day/Spring Baskets | Stamping Bella

Hi all! Today I'm sharing how to make these cute Mother's Day/Spring Baskets. Mother's Day happens in March here, but is not until May in many other countries. I used the Mini Frenchies, and the sentiment is from the new Tiny Townie Busy Bee


Supplies:
Gingham paper
Scoring board and bone folder
Dies - Scalloped circle, stitched circle and bow
Stapler
Adhesive

How to (for each basket):
Stamp the Mini Frenchie with the flowers on to white card, colour, and cut out using a 1.75" stitched circle die. Cut a 2" scalloped circle to mat the image onto. 


For each basket cut:
One piece of coloured card measuring 5.5" x 6" for the basket, and one piece measuring 5/8" x 8.5" to make the handle. 
One piece of gingham paper measuring 6" x 6"


Score the 5.5" x 6" piece of card at 1.75" on all four sides. 


On the 6" side, cut on each of the score lines up to the intersecting score line - on both sides. 


Fold and burnish the score lines. 


Fold up the centre section and then fold in the outer sections as shown. Staple in place. 


Repeat on both sides. 


Place the corner of the 6" gingham paper into the 5" groove on the scoring board. Ensuring the opposite end is also in the 5" groove, score at 4" and 6". 


Flip the paper over to the back side, place along the 5" groove again and score at 2.25" and 7.75"


Turn the paper so the score lines are horizontal and, using a ruler as a guide, score in between the 2 centre score lines at 3.75" and 6.25" 


From the centre score lines, mark with a pencil at 1" each side of the lines, as shown. 


Cut from the 1" pencil mark, up to where the score lines meet. Repeat for all 4 pencil marks. 
Apply adhesive to the underside of the triangular tabs and adhere down. 


Apply adhesive to the underside of the outer triangular tabs and adhere down. 


Turn the paper face forward and curl up the edges of the outer sections. 


Apply a strip of double sided tape the underside of centre section. 


Remove the tape backing and push the gingham insert into the basket. 


Use glue dots to adhere the sides of the gingham insert to the basket, then fold down the long edges over the basket. 


To create the handle, curl the 5/8" x 8.5" piece of card through your fingers. Apply adhesive to approx. 1" of each end, then adhere outside the basket on each side. 


Apply foam tape to the back of the image panels and adhere over the handle. 


Cover the last "E" of BEE on the Tiny Townie Busy Bee before inking it up then stamp onto white card. Cut out using the same die as for the Frenchie, and also layer onto a scalloped circle. Adhere to the other side of the basket using foam tape.  


Cut a bow from the gingham paper and adhere above the sentiment. 


Fill the baskets with candy, a small gift, or cookies. A perfect gift for Mother's Day and many more occasions. 


For more inspiration check out the Stamping Bella Sisterhood page over on Facebook, where you can add your own Stamping Bella creations.

My Social Media Sites