Pages

Thursday 25 May 2023

Mochi Donut Girl Lift the Flap Card | Stamping Bella

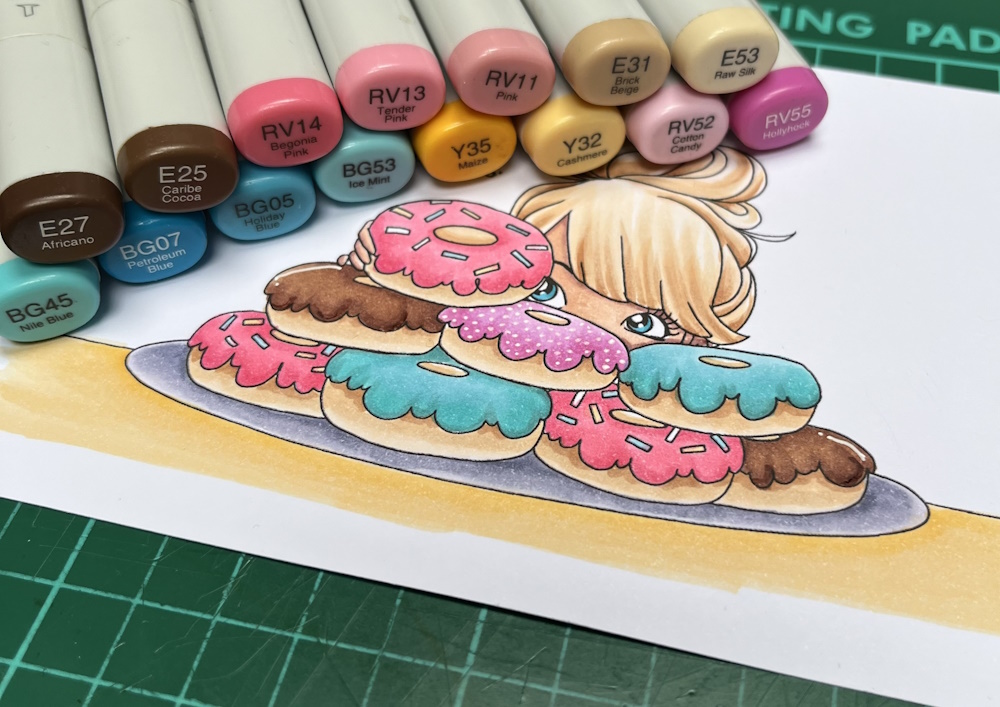
Hi all, I'm back this week with another tutorial and this week I'm sharing how I made this Lift the Flap Card featuring Mochi Donut Girl and Mochi Girl Sentiments


Supplies:
Happy Sentiment Die (retired)
Card
Designer paper (used: P13, Sugar & Spice) 
Stitched rounded rectangle dies

How to:
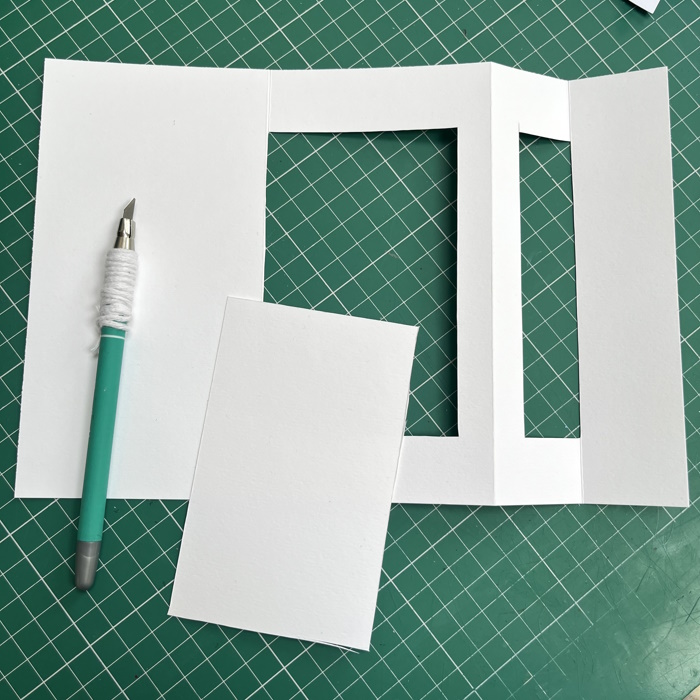
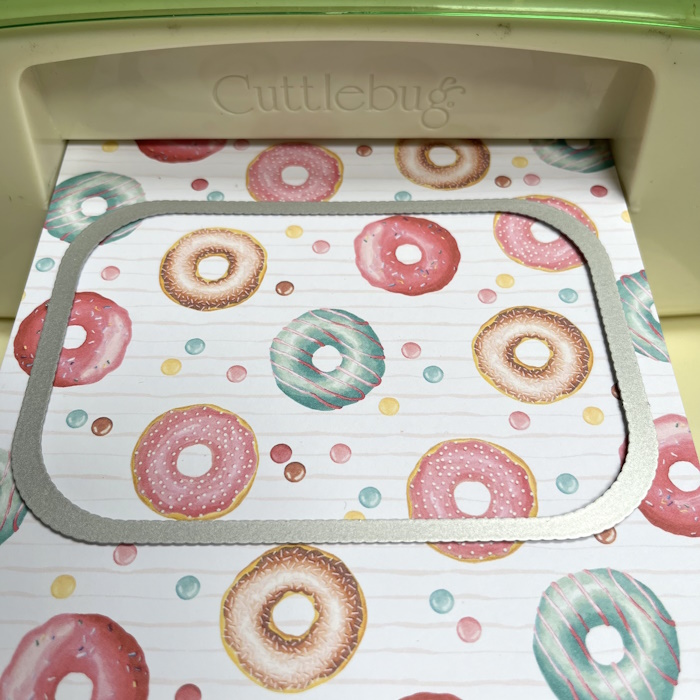
Place a 5" x 3.5" rounded rectangle die into the centre of a 6x6 piece of designer paper and run through a cutting machine until almost to the top of the shoulders. Do not cut over the end of the die. 


Score across the top as shown below. 


This creates the lift flap. 


Take a contrasting 6x6 piece of paper and cut the same sized rounded rectangle from the centre. 


Adhere over the piece with the flap, bringing it up about 1/8" so that the flap can open freely. 


Stamp Mochi Donut Girl onto white card and colour using  your preferred medium. 


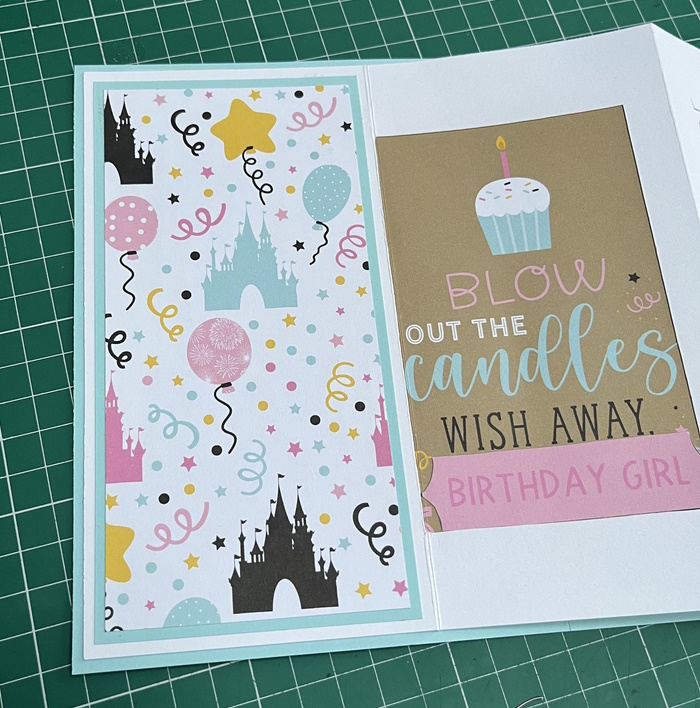
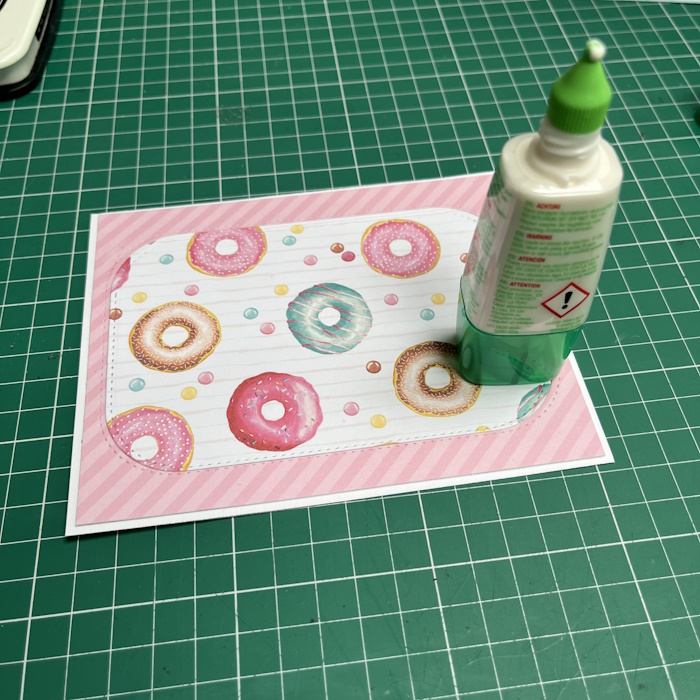
Apply adhesive to the back of the window piece and adhere down over the image. Stamp the sentiment in the left top corner. 


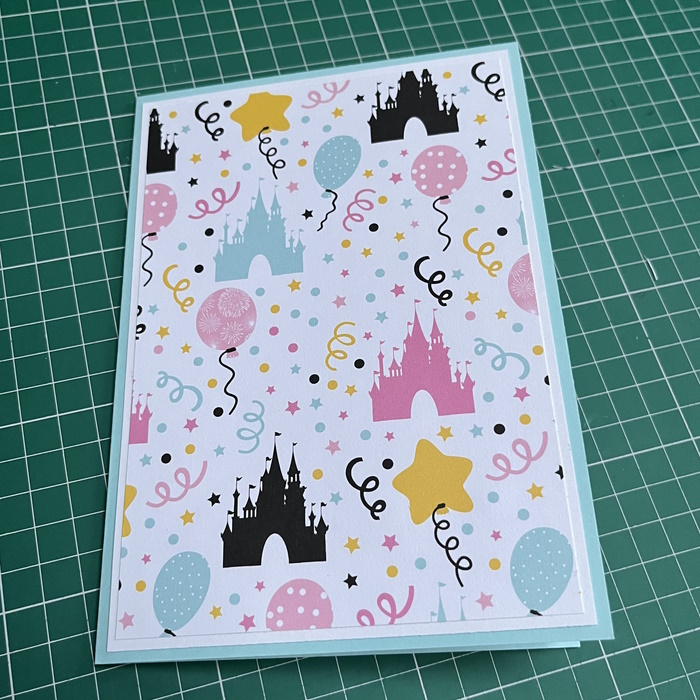
Trim down to approx. 4.5" x 5-5/8" and mat onto a card layer, leaving a 1/8" border all around. 


Add another layer of teal/mint paper/card behind the white layer, then finally adhere to a card base. 


Cut a piece of paper using a small rectangle die. Score and fold in half to make a pull tab. 


Adhere the pull tab to the bottom of the flap. Add a sentiment to the front flap. 


For more inspiration check out the Stamping Bella Sisterhood page over on Facebook, where you can add your own Stamping Bella creations.

Where you can find me


Thursday 18 May 2023

Oddball Fairytale Princess | Stamping Bella

Hi all. For my Stamping Bella tutorial today I am sharing how I made a Pop-up Window Card with optional gift card pocket. The card features two of the newest release stamps - Oddball Fairytale Princess and Oddball Fairytale Dragon Sitting

The card folds to 5" x 7" and is not too thick, making it a perfect size for mailing. 


Supplies:
Card
Designer paper 
Stitched Rectangle dies
Ruler, pencil, craft knife.
Die cuts for embellishment.

How to:
Cut one piece of card measuring 10" x 7". Score at 5" on the long side and fold in half to make a 5" x 7" card base. 


Cut a piece of white card measuring 6.75" x 10". Score on the long side at 3.5", 7", and 8.5". 


Valley fold the 3.5" score line, mountain fold the 7" line and valley fold the 8.5" line. Burnish well. 


Using a ruler, measure and mark with a pencil, at 1" on all score lines - both from both the top and bottom. At the 1" mark, measure in and mark at 0.5" each side of the 7.5" score line. 
Cut along the 1" line from the 3.5" score line to the 0.5" mark, top and bottom. 


Cut along the 1" line from the 8.5" score line to the 0.5" mark, top and bottom


Cut along the 8.5" score line between the 1" marks. Repeat at the 0.5" mark to remove the window. 


Cut along the 3.5" score line between the 1" marks. Repeat at the 0.5" mark to remove the window. 


Layering panels
Card:
6.5" x 3.25"
6.5" x 1.25"

Paper:
6.25" x 3"
6.25" x 1"


Adhere panels behind the card to make the window. Alternatively, use acetate panels and create a scene on the card base behind the window. 


Optional: 
Cut a piece of card 3" x 3". Cut diagonally from one corner down to 2" on the opposite side. Use the card shape as a guide to cut a paper panel. Apply adhesive to each side and the bottom and adhere down, making a gift card pocket. 


Card front panels:
Card - 6.75" x 4.75"
Paper - 6.5" x 4.5"


Image panel:
Card - 3.5" x 6"
Paper - 3" x 5.75"
Adhere to the card front. 


Stamp Oddball Fairytale Princess and Oddball Fairytale Dragon Sitting onto white card. Colour and then fussy cut around the outline. 


Layer up the images and some die cuts to decorate the card front. 


For more inspiration check out the Stamping Bella Sisterhood page over on Facebook, where you can add your own Stamping Bella creations.

Where you can find me


Thursday 4 May 2023

Oddball Mermaid Shaker Card | Stamping Bella

Hi all. It's MERMAY!! and today I'm sharing how I made this Shaker Card featuring Oddball Mermaid and Under the Sea Sentiments


Supplies:
White card
Distress Oxide inks - Mermaid Lagoon, Tumbled Glass, Seedless Preserves
Ink blending tool/brush
Circle Dies - 2.5", 3", 3.5"
Small paintbrush
Acetate

How to:
Cut card base 4.75" x 5.75" and two white card panels measuring 4.5"x 5.5" 

On one of the 4.5"x 5.5" panels, use the distress oxide inks and blend the blues from dark to light to about 3/4 way down the white card panel. Then add a little purple to add darker areas.

Take a small paint brush, dip in water, and make splashes on the card. Place a paper towel over the panel and dab the water splashes. 


Stamp a little of the mermaid lagoon and seedless preserves inks onto a stamping block. Using the small paint brush, mix a little water into the mermaid lagoon and make little splashes on the card panel. Repeat with the seedless preserves ink. 


When the ink has dried, place the 3 circle dies inside one another, and evenly spaced, about 0.5" down from the top and centered horizontally (0.5" in from each side). Use a little washi tape to hold them in place and run through the cutting machine. 


Remove the three circles from the card panel.


The card panel can be used to make another card. 


Take the other 4.5"x 5.5" piece of card and using the largest circle die (3.5") cut out a circle, again 0.5" from the top and 0.5" in from each side. 


Position the panel on top of the card base. Do not stick it down


Adhere the largest circle inside the window. Then remove the front panel. 


Place the other circles into the window, applying glue to the centre cirlce only 


Remove the centre circle. 


Cut two acetate circles using the 3" die. Apply a strip of 1/8" double sided tape around the back of the middle circle and adhere to one of the acetate pieces. 


Apply some 1/8" foam tape on the acetate circle panel, first making little notches to help shape it into a circle. Pour in some fine shaker mix, remove the backing from the foam tape and adhere the other acetate circle to it. 


Adhere the shaker to the card front. Using the small paint brush and the mermaid lagoon/seedless preserves ink again, make splashes on the front panel then adhere it to the card base using foam tape. 


Stamp Oddball Mermaid onto white card, colour, then fussy cut around the outline. 


Adhere the image to the card front, positioned to the right. 


Stamp the sentiment onto white card, cut out with a 5/8" high pennant die. Leaving the die in place, ink the card with tumbled glass ink, then make splashes with the inks used for the card front. 


Adhere the sentiment to the card front using double sided tape or liquid glue. 


For more inspiration check out the Stamping Bella Sisterhood page over on Facebook, where you can add your own Stamping Bella creations.

Where you can find me