Hi everyone! Today I'm sharing how I made this Halloween Explosion Card featuring Oddball Frankenstein, Oddball Ghost, and Oddball Girl Mummy rubber stamps. I have also used some Halloween elements from Little Bits Haunted House Outdoor Decor which, unfortunately, are retired now.
I first made one of these cards about 4 years ago. They easier to make than they look, and they make great showpiece cards for display. They can also be adapted to suit any occasion. The instructions for this card is in inches but you can find lots of centimeter versions on line.


Supplies:
Little Bits Haunted House Outdoor Decor rubber stamps and Dies (discontinued)
Card - Black, white, orange
Halloween themed papers (used - Echo Park, Happy Halloween collection)
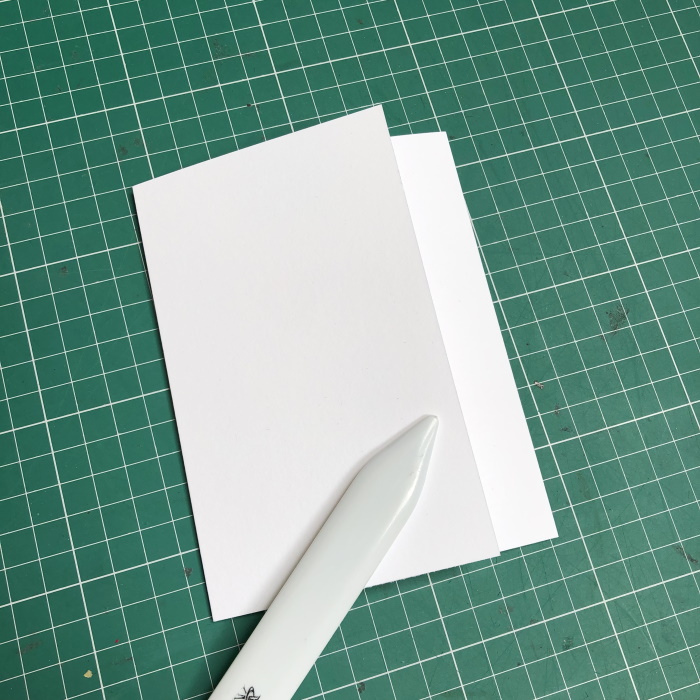
Scoring board and bone folder
Ruler and pencil
Velcro dots or magnets
Corner rounder
Adhesive and foam tape/dots
How to:
Stamp only the top half of Oddball Frankenstein, Oddball Ghost and Oddball Girl Mummy onto white card (approx 2.5" from the top of the image), masking all 3 to create one image. Also stamp a selection of images from the Little Bits Halloween collection. Colour all images using your preferred medium, then cut out the Little Bits elements using the coordinating dies.


Cut the image out using a rectangle die. Cut a larger rectangle and mat the image. Set all the images aside and work on the card.

For the card base, cut a piece of card measuring 12" x 6". Score at 5", 5-1/8" 10-1/8", 10.25" and 10-3/8".

For the inside tiers, cut one each of -
3" x 3" - score at 0.25", 1.5" and 2.75"
2.75" x 2.5" - score at 0.25", 1.5" and 2.5" on the long side
2.5" x 2" - score at 0.25", 1.5" and 2.25" on the long side


To create the explosion element, cut 2 pieces of designer paper measuring 6" x 10". Score both at 5". Fold the paper with the side you want showing, when the card is open, facing inward.

With the open side on the left, fold up the bottom right corner as shown. Crease well with a bone folder.


Measure across 2" from the right and mark with a pencil. Using a ruler along the 2" mark, fold the paper back towards the straight side


Fold all of the score lines back and forth to loosen the paper. Mountain fold the 5" centre score line, then mountain/valley fold the other score lines


Another way to mark where to fold the paper is to use a scoring board. Place the straight edge against the edge of the scoring board and score at 2", 3", 4", 5" and 6".

When using paper that has a directional design, make sure to have the 2" section on opposite sides of the paper.


Cut two pieces of orange card measuring 1.5" x 5-7/8" and two pieces of paper measuring 1-3/8" x 5.75". Adhere the paper pieces to the card pieces then adhere these panels to the inside and outside of the top flap.

Also cut a piece of orange card measuring 5-7/8" x 4-7/8" and a piece of paper measuring 5.75" x 4.75". Adhere them together and then adhere to the card front.


Fold the exploding mechanism into the closed position, keeping the straight side inwards. Apply adhesive to the back and adhere to the inside back of the card base. Repeat on the other side with the other exploding mechanism.


Fold into the closed position again and apply adhesive. Fold the card front down and burnish well. Open the card front up, apply adhesive to the second side mechanism and fold the card closed again.


Fold and crease all the score lines on the tier pieces. Apply red line tape, or any strong double sided tape, to each of the 025" sections and fold them under.


Taking the larges piece first, remove the red line tape backing from the top section. Line up the centre score line on the tier piece with the score line on the card insert and adhere the top 0.25" section. Remove the backing from the bottom piece of tape and adhere to the card insert.

For the second and third pieces, measure up 0.25" from the centre score line of the previous tier and adhere the top tab first. Once that is securely fastened, adhere the bottom 0.25" section.


Fold the insert down and apply adhesive to the other side, then fold the top of the card base down. Burnish well to ensure the insert is securely stuck to each side or the card base.


Decorate the tiers with paper and Halloween elements.

Apply foam tape to the back of the image panel and adhere to the card front.

Decorate the top flap of the card.

Add some enamel dots to finish.