Hi all!
Today I'm sharing how I made this Christmas Gift Shadow Box featuring Reindeer with a Gift .
I can't believe we are into mid November already. I am so behind on Christmas preparations this year. My children and into their late teens now but they still love to get little gift boxes filled with everything from candy to gift cards. This box fits a 2" x 4.5"x 1-1/8" gift but can be adapted to make any size you need.

Supplies:
Heavy double sided paper
Scoring board and bone folder
Wet glue/adhesive/foam tape or dots
Embellishments (optional)
Precision scissors
Acetate
How to:
Cut paper:
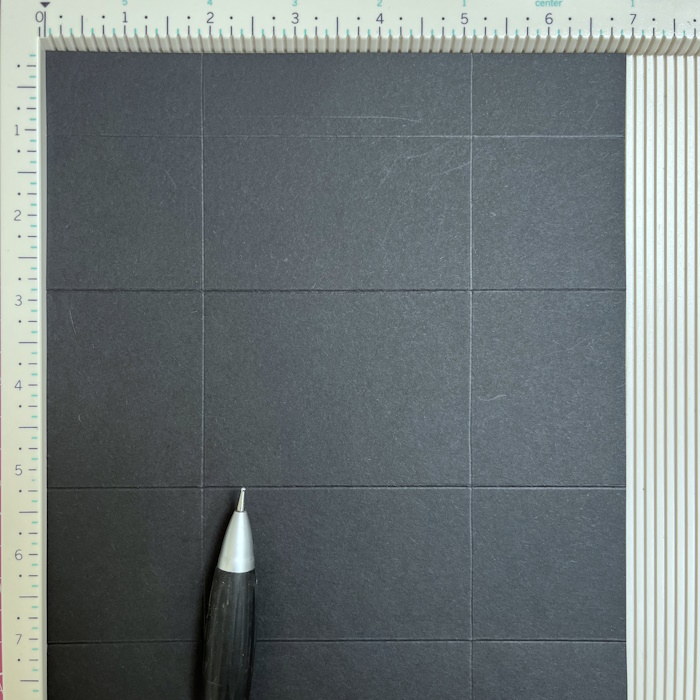
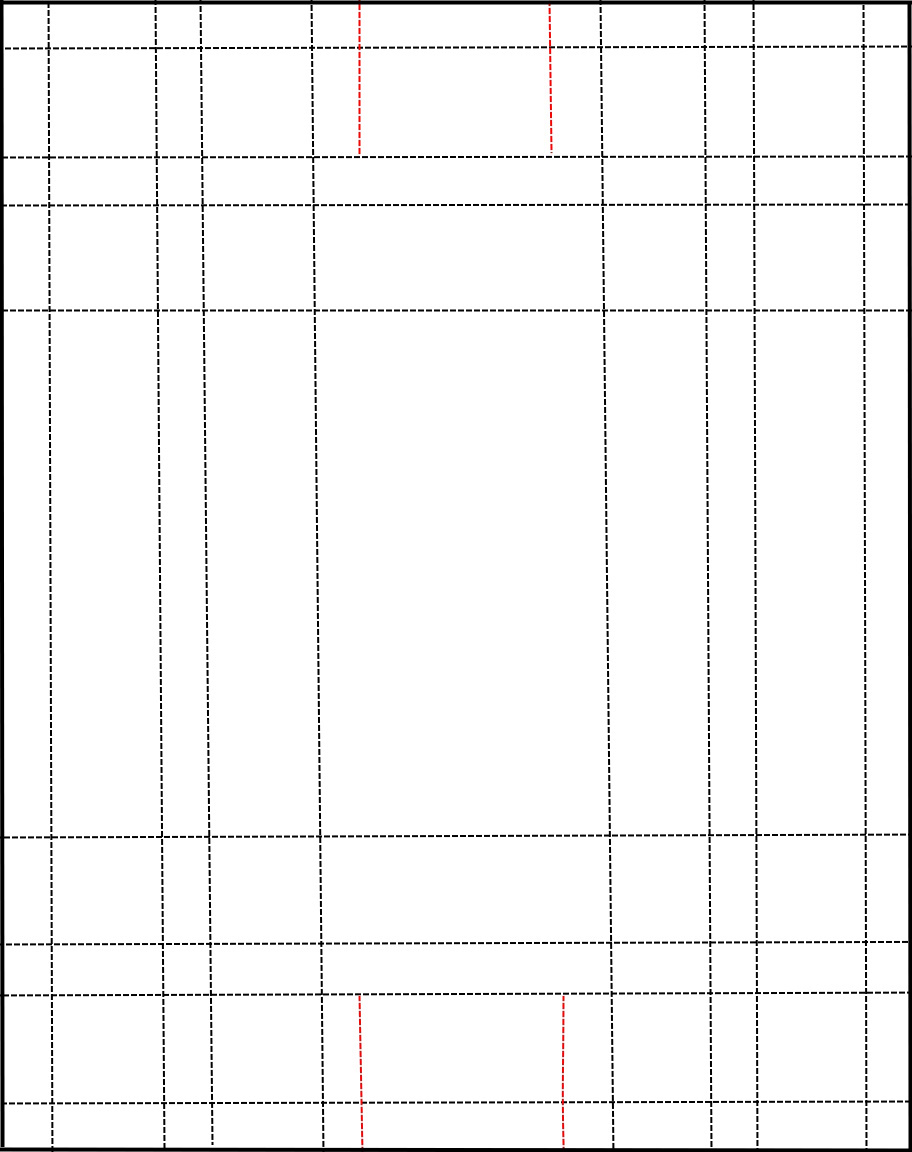
3" x 9.5"
9.5" x 12"


On the long sides, remove the tape backing, fold in the 0.5" section, then fold over on the third score line and adhere down.


Fold up the ends of the box and adhere to the tabs. Then fold the paper in to to make the box shape.

Cut a piece of acetate measuring 4.25" x 6.75". Score on all four sides at 1-1/8". Cut away the corners then taper the edges of the four sides.
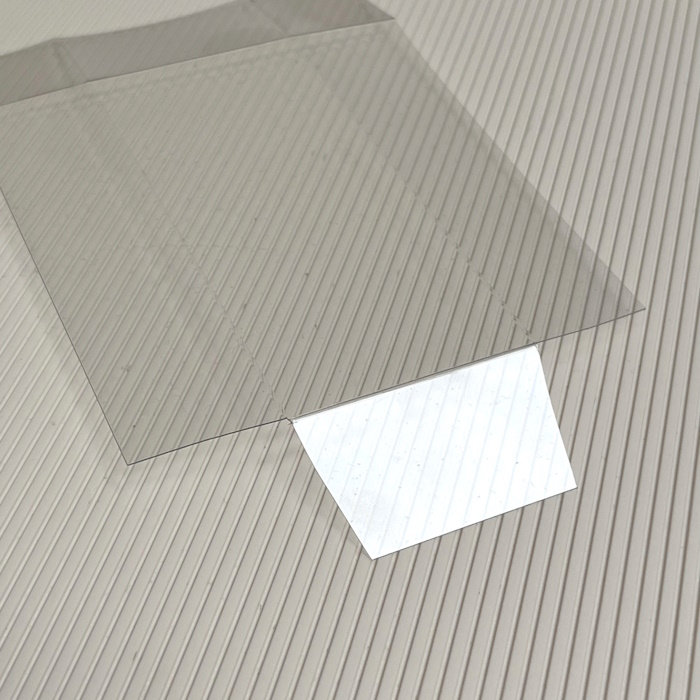
Insert the acetate into the middle of the box.

Stamp Reindeer with a Gift onto white card, stamp the sentiment beneath it. Colour the image then trim down the card to approx. 3-3/8" x 2.5". Use a stylus to emboss a 1/8" border around the image.


Take the 3" x 9.5" piece of paper and centre it across the box. Fold around the edges to make the belly band.

At the back, use wet glue/adhesive to secure the ends. Make sure the belly band is loose enough to move smoothly up and down the box.

Matt the image onto some Christmas green paper. Using foam tape, adhere the image panel to the front of the belly band.

Cut a sentiment from paper and use as embellishment.
For more new release inspiration check out the Stamping Bella blog and Stamping Bella Sisterhood page over on Facebook, where you can add your own Stamping Bella creations.
Where you can find me