Pages

Thursday, 24 March 2022

A2 Folding Shadow Box Card | Stamping Bella

Hi all! Today I'm sharing how I made this Folding Shadow Box Card featuring the NEW Guinea on a Bicycle and Cherry Blossom Branch rubber stamps. The Guinea is mounted on an action wobbler so this is a fun interaction card that folds up into a 4.25" x 5.5" card and fits neatly into an A2 envelope. 


Supplies:
White Card
Distress Oxide Inks - Twisted Citron and Tumbled Glass
Scoring board and bone folder. 
Precision scissors
Adhesive
Action Wobbler
Grass Border and Clouds dies. 

How to:
Stamp Guinea on a Bicycle and the Cherry Blossom Branch on to white card. Ink up just the envelope from the Guinea on a Bicycle and stamp  it numerous times on a scrap piece of white card. 


Colour all the images and fussy cut using a precision scissors and a craft knife. 
Set the images aside. 


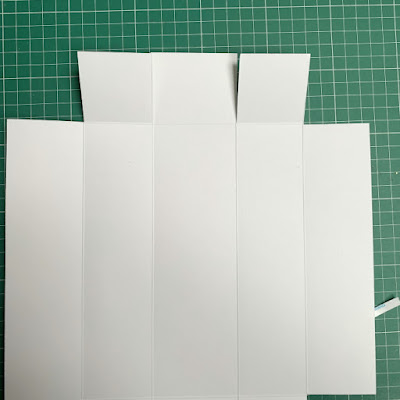
For the box base, cut a piece of card measuring 8.5" x 9.75". Score on all four sides at 2-1/8". Taper the edges of the 0.5" tabs. 


For the side pieces, cut 2x pieces of card measuring 2-5/8" x 5.5". Score both pieces at 0.5" on the short side. 


Fold and  burnish all the score lines on the large piece of card. 


Along the 8.5" side, mark the half way point - 4.25", on both the top and bottom. 


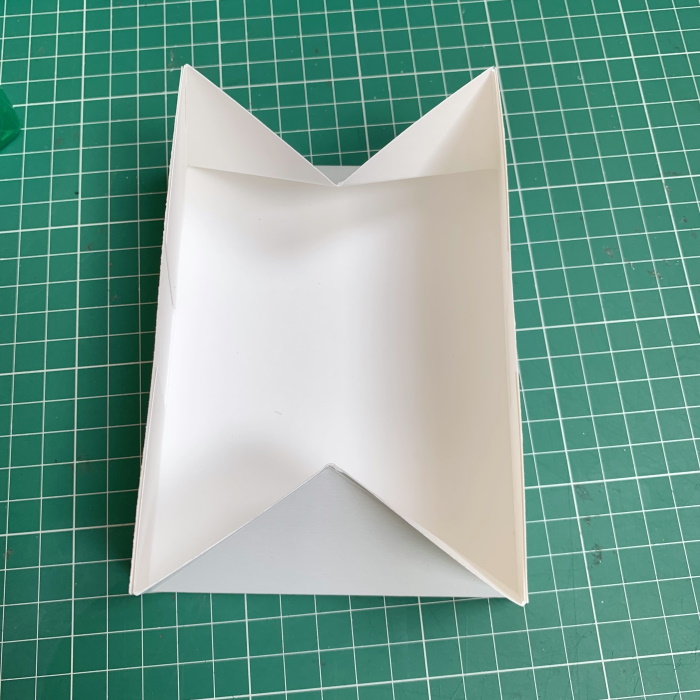
Using a ruler and stylus, score diagonally from the 4.25" mark down to the intersection of the score lines


On the 9.75" side, cut on the score lines, up to the intersecting line. Taper the edges of the four corner tabs. 


Fold back the diagonal score lines


Apply adhesive to the outside of the corner tabs and adhere to the adjacent box side. 


Take the 2-5/8" x 5.5" and fold the 0.5 section under. Ink the 2-1/8" section to create a grass/sky effect. 


Cut two pieces of card measuring 2" x 5-3/8" and one piece measuring 4-1/8" x 5-3/". Ink them the same as the box sides. 
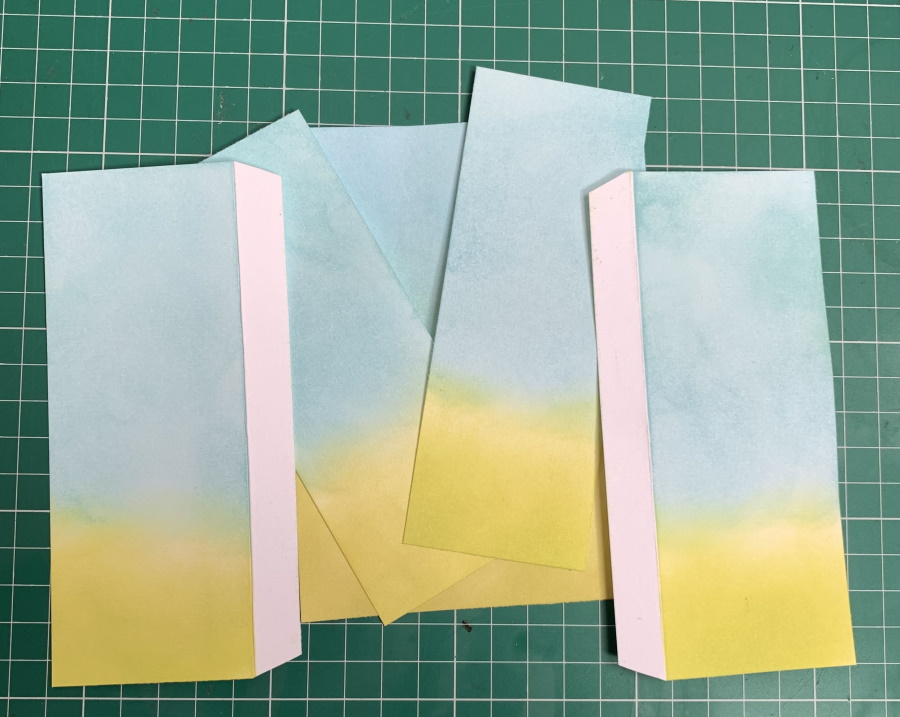

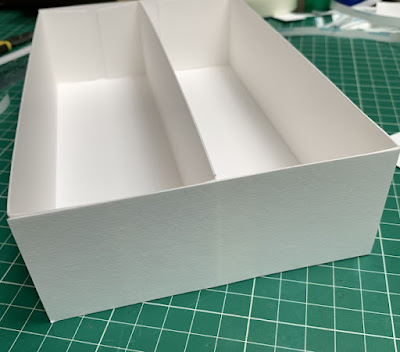
Adhere the 2-5/8" x 5.5" pieces to the outside of each side of the box. 


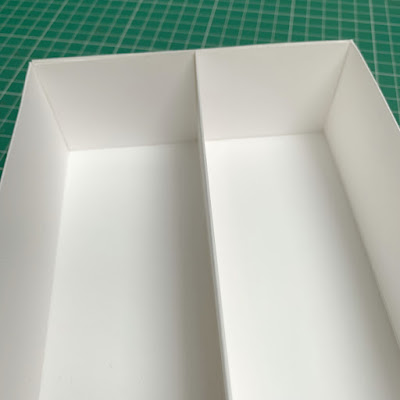
Push in the sides to fold up the box. 


Ink some more white card and cut some grass using grass border die. Cut some clouds 


Arrange the grass and clouds on the box


Then add the Cherry Blossom Branch


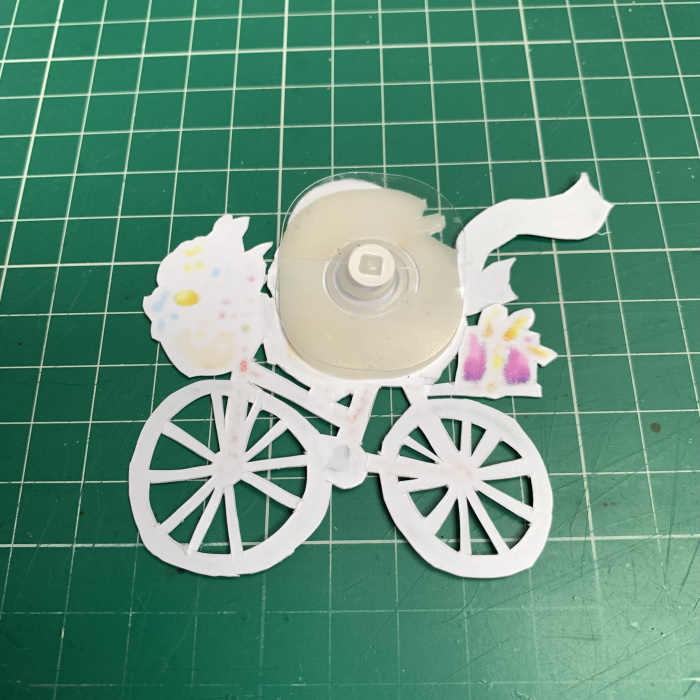
Attach an action wobbler to the back of the Guinea on a Bicycle and adhere into the box. 


Add the sentiment and the extra envelopes to complete the box. 


For more inspiration check out the Stamping Bella Sisterhood page over on Facebook, where you can add your own Stamping Bella creations.

My Social Media Sites


Friday, 11 March 2022

Sunflower Frenchie for Ukraine

La-La Land Crafts is joining the effort of crafting community to bring awareness to a current situation in Ukraine. We created this image of a French bulldog holding a sunflower – a sunflower is the national flower of Ukraine.


This image is available as a FREE DIGI here at bit.ly/3ML1Hhw. The only thing we ask is that if you can, please consider making a donation to the cause.

This image is also available as a pre-order for a RUBBER STAMP at bit.ly/3ML2oaC. All proceeds from sales will be donated to the Global Empowerment Mission.
We can't wait to see your cards made with our image. Please spread the word and please share this post with your crafty friends.


My Social Media Sites
   

Thursday, 10 March 2022

Curvy Girl Mom Gift Box | Stamping Bella

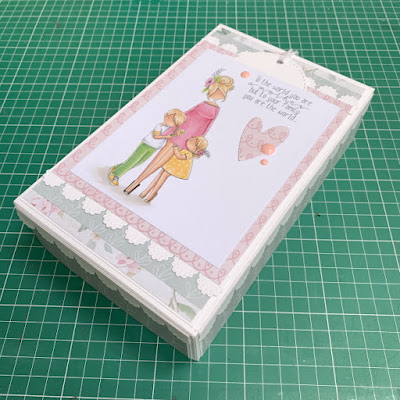
Hi all! I'm back with another Stamping Bella tutorial and today I'm sharing how I made this Mother's Day Gift Box featuring Curvy Girl Mom

Supplies:
Card
Designer paper
Scoring board and bone folder
Adhesive
Scalloped border, Heart, and Tag dies
Twine
Packing straw

How to:
Stamp Curvy Girl Mom on to a 5.5" x 4.25" piece of  white card and colour using your preferred medium. Stamp the sentiment in the top left. 


The box base is made up of 2 pieces. 
One piece measuring 10.5" x 12" and the other measuring 7" x 12" 
Score the 10.5" x 12" on the long side at 2" and 10". Flip to the short side and score at 2", 4", 6.5", and 8.5" 
Score the 7" x 12" piece on the long side at 2" and 10", and on the short side at 2", 4", and 6.5" 


Fold and crease all the score lines of both pieces. 


On the smaller piece, cut away the top and bottom 0.5" sections and taper the edges of the centre section. On the opposite side, cut away the outer 2" section, on both ends. Cut the remaining score line up  to the intersecting score line. 


Cut a tiny sliver off the end of the remaining 2" section, apply adhesive and fold down onto the inner 2" section. 


Adhere the side tabs to the inside of the box. 


On the large piece, cut away all four outer squares. Cut the remaining score lines up to the intersecting score line. 


Again, remove a tiny sliver from each of the outer short sections, apply adhesive and fold down onto the inner 2" sections. 


Shorten the outer tabs to approx 1". Apply adhesive and adhere to the inside of the centre tab. 


Apply adhesive to the 0.5" section of the smaller box piece and adhere the full box to it. 


Cut 2 pieces of card measuring 2" x 5" and adhere them to each end of the box. 


Cut four pieces of card measuring 2" x 2.5" and adhere to the inside ends of the boxes. Trim down as necessary. 


To make the lid of the box, cut one piece of card measuring 9-1/16" x 10-1/16" and another piece measuring 9-1/16" x 3" 
Score the large piece on the long side at 2", and on the short side at 2" from each end, leaving 5-1/16" in the centre. 
Score the small piece on the short side at 1" and on the long side at 2" from each end, leaving 5-1/16" in the centre. 


On the small piece, cut away the 1" sections leaving only the centre one. Apply adheside and adhere it to the large lid piece. 


Adhere the tabs to the long sides to complete the lid. 


For the panels, cut:
Card
(2x) 4-7/8" x 1-7/8"
(2x) 7-7/8" x 1-7/8"
(1x) 7-7/8" x 4-7/8" 
Paper
(2x) 4.75" x 1.75"
(2x) 7.75" x 1.75"
(1x) 7.75" x 4.75" 


Adhere the panels to the box lid and add a scalloped border all around. 


Layer papers and the image onto the top of the lid, adding more scalloped borders and a stitched tag. 
Decorate as desired. 


Insert some packing straw into each compartment and place a small bottle of Prosecco and 6 Raffaello inside - or, if you prefer, different types of chocolates in each compartment instead of the Prosecco. 


For more inspiration check out the Stamping Bella Sisterhood page over on Facebook, where you can add your own Stamping Bella creations.

My Social Media Sites