Hi all :) Today I'm sharing how I made this Shutter Flap Card. With Father's Day coming up soon I took the plunge into a male themed card. This could also be used for a birthday card. It's no secret that I adore Stamping Bella's
Oddball collection and I just can't get enough of the Oddball family characters. So versatile and fun to work with.
Supplies:
Card
Designer paper
Scoring board, bone folder, pencil, ruler, eraser
Crop-a-dile, grommet, twine
Rectangle Die
How to:
Stamp the sentiment from
Down on the Farm beneath the baby and cut out in a 1.5"x 3.5" rectangle. Cut the dad image in a 1.25" x 2-5/8" rectangle. Fussy cut around the outline of the other images. Set aside.
For the card, cut card-
Base: 7" x 10"
Inside and front layer - (2x) 6-3/8"x 4.5"
Shutter mechanism:
Base and front frame - (3x) 5-7/8" x 4-1/8"
Shutters - (3x) 4-1/8" x 2-1/8"
Cut paper layers -
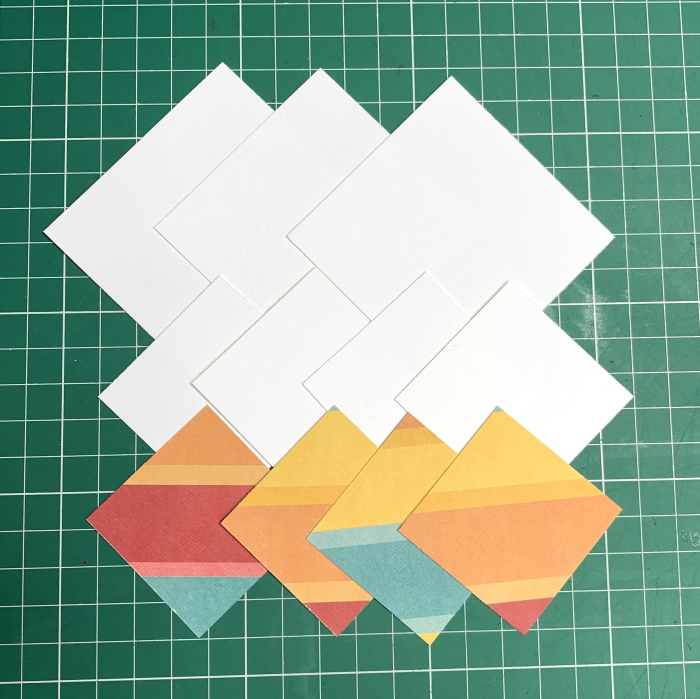
Shutters - (6x) 2.75" x 1-3/8", using contrasting colours/design for inside and outside.
Base - (2x) 4" x 1.5", and one each of 2" x 4" and 0.5" x 4"
Front frame - 5-7/8" x 4-1/8
Score and fold the card base at 5" on the 10" side. Adhere one of the 6-3/8"x 4.5" pieces of card inside. Set aside.
Apply adhesive around the edges of one of the 5-7/8" x 4-1/8" pieces of card. Adhere a second one of the same size to it, then adhere the 5-7/8" x 4-1/8" piece of paper to the card pieces.
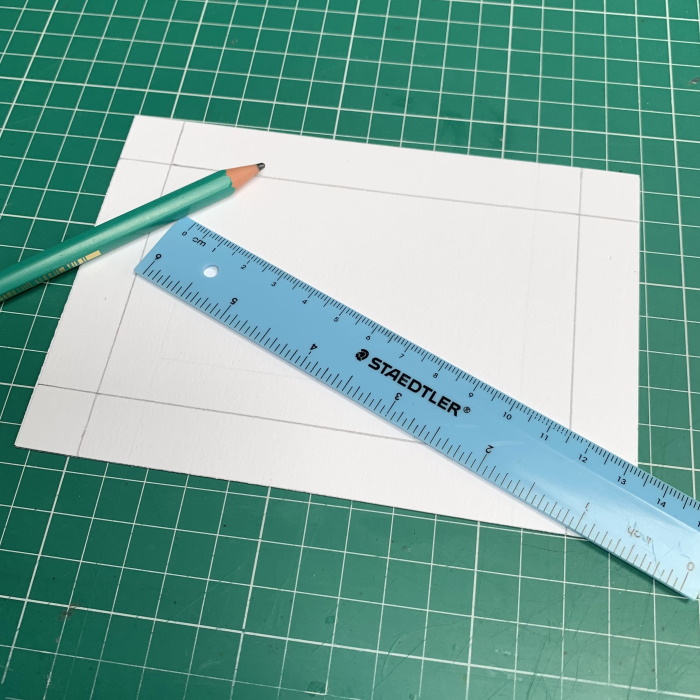
On the back, measure and mark at 5/8" on all four sides, drawing guide lines as shown.
Using a craft knife, cut along the lines to remove the centre piece.
Turn over to the paper side and flatten the raised cut edges with a bone folder.
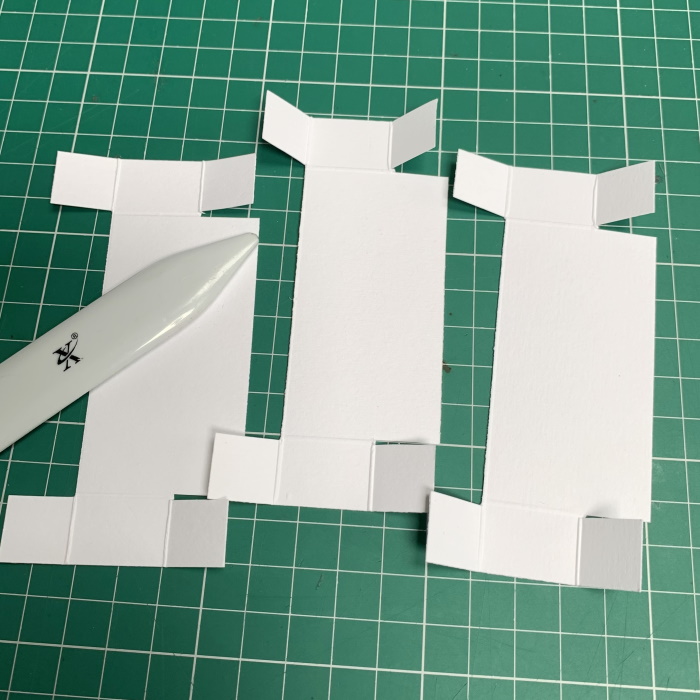
Take the 4-1/8" x 2-1/8" pieces of card and score each one at 5/8" on both short sides and one long side. On the remaining long side, score at 5/8" each side of the intersecting score line.
On the side with the long score line, cut up on each 5/8" line until you meet the horizontal line. then cut across the score line to remove the centre piece.
On the opposite side, cut on each side the score lines up to the horizontal lines and remove the little sliver of card.
Fold all four tabs on the score lines, ensuring the angles are square, and burnish well with the bone folder. Repeat these steps for all 3 pieces of card.
Turn the shutters so that the side with removed middle section is on the left. This is the front of the shutters. Adhere the paper layers.
Turn over each piece and adhere the contrasting paper to the back side.
With the front of the shutter facing upwards, fold back the two outer tabs and apply wet glue
Adhere the tabs to left side corners of the remaining 5-7/8" x 4-1/8" piece of card, ensuring there is no over hang around the edges. Fold up the tabs on the other side of the shutter, as shown.
To add the second shutter, apply adhesive to the tabs as for the first one, line up the shutters so that there is just a tiny gap between them, then fold down the tabs and adhere, again ensuring they are lined up with the edge of the base piece.
Repeat for the third shutter.
Note: If you would prefer to adhere the paper layers and add any images/embellishments to the base piece before adding the front frame, skip the next two steps and come back to them once the layers/embellishments have been added.
Fold back all of the remaining tabs and apply wet glue.
Adhere the frame to the tabs, lining it up with the edges of the base piece.
Adhere the (2x) 4" x 1.5" pieces to the centre sections, the 2" x 4" to the end section, and the 0.5" x 4" piece to the smallest section of the base.
Using foam tape/dots, adhere the dad image to the centre front shutter.
Adhere the baby image to the base piece.
Pull open the shutters and adhere the remaining images to the inside of the shutters, trimming the Mom to size.
Decorate the front of the frame and shutters.
Retrieve the card base and adhere the remaining 6-3/8"x 4.5" piece of card to the front.
Apply wet glue to the back of the shutter base, then adhere to the front of the card base.
Punch a hole on the left side of the frame, adding a grommet.
Thread some twine though the grommet as a pull mechanism to open the shutters.
For more inspiration check out the
Stamping Bella Sisterhood page over on Facebook, where you can add your own Stamping Bella creations.
Where you can find me