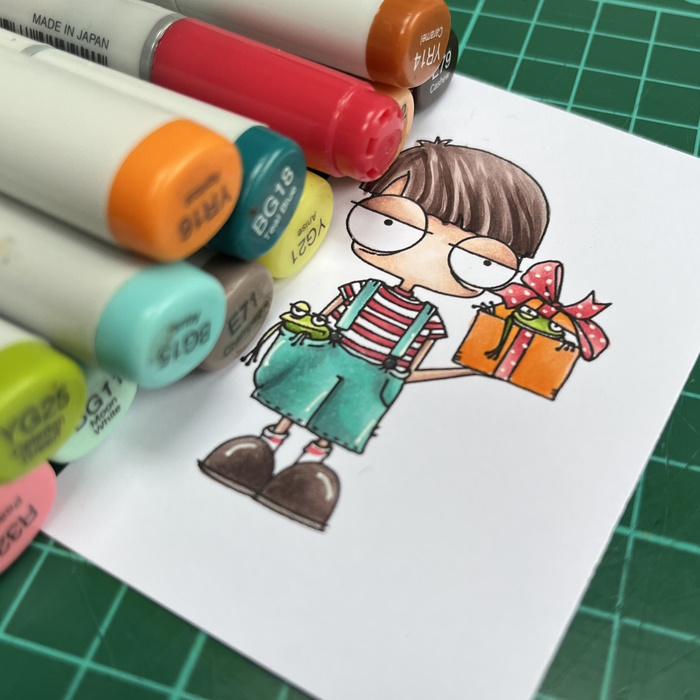
Hi all, I'm back with another tutorial and today I'm sharing how I made this fun Two-Fold Card featuring Mini Oddball and His Frogs.


Supplies:
Celebrate Sentiment Dies (retired)
Card
Designer paper (used: Echo Park Birthday Wishes)
Stitched Circle Dies
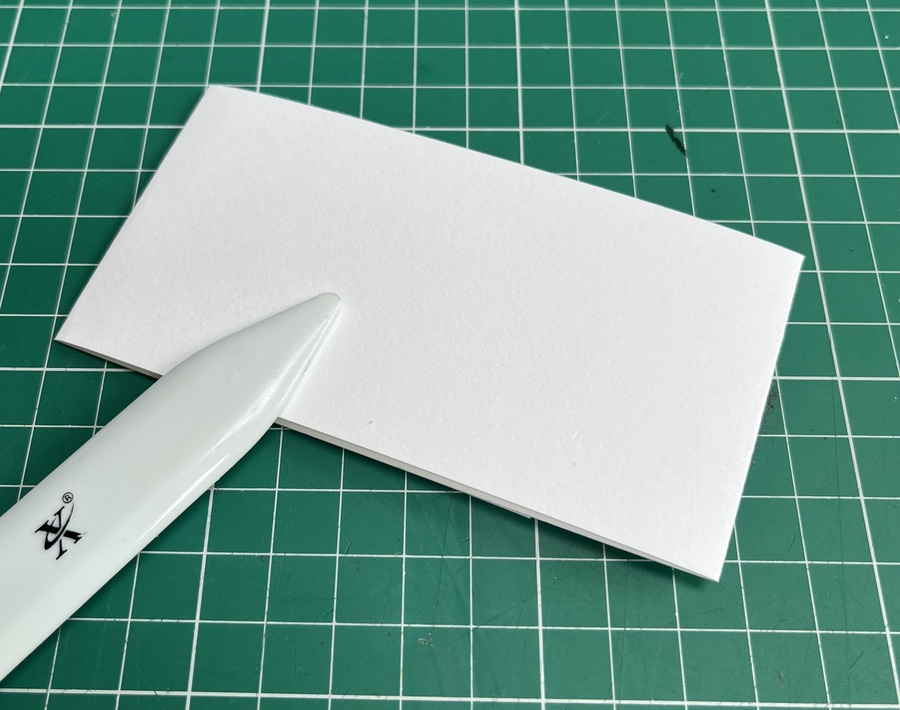
Scoring board and bone folder
Adhesive & foam tape/dots
Embellishments
Card
Card base - 5.5" x 11"
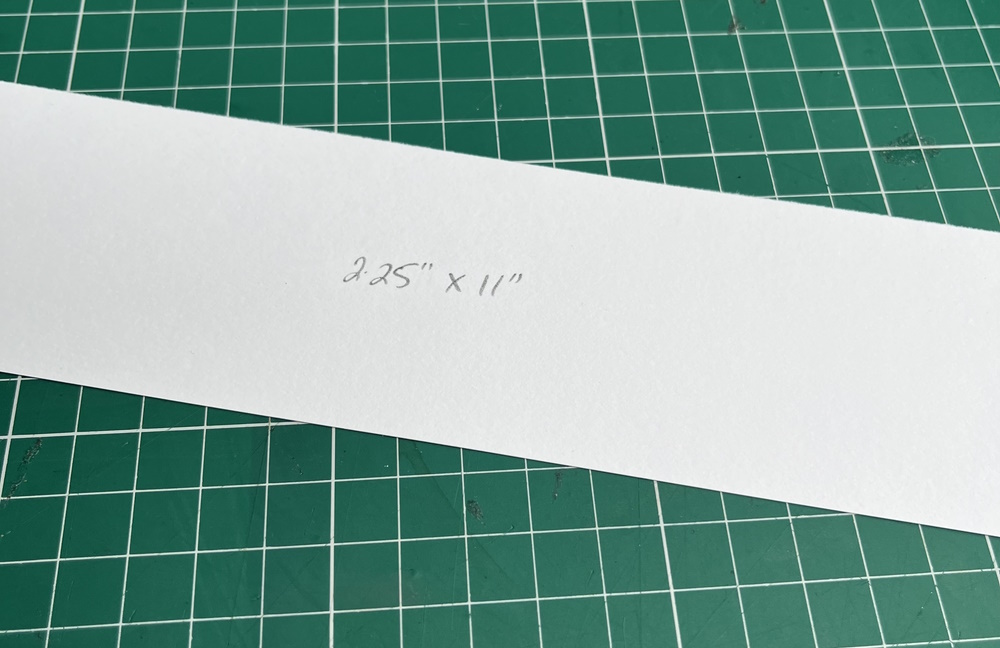
Belly band - 2.25" x 11"
Sentiment/Handwritten message - 2.75" x 3"
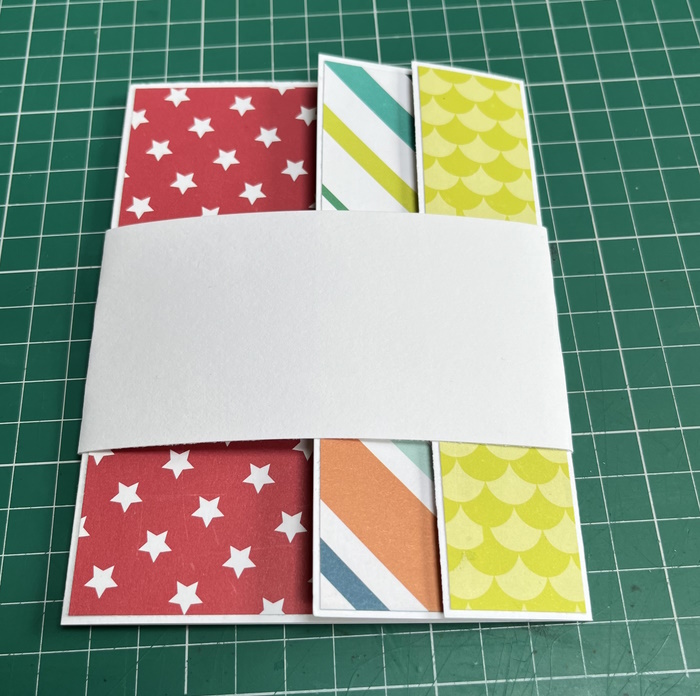
Paper layers
(2x) 3-5/8" x 5-3/8"
(2x) 1-5/8" x 5-3/8"
(2x) 1-3/8" x 5-3/8"
(1x) 4-1/8" x 5-3/8"
(2x) 2-1/8" x 4.25" (belly band)
(1x) 2" x 3-5/8" (gift card pocket)
Stitched Circles
Card - 3.75"
Paper - 3.5"
How to:
Stamp Mini Oddball and His Frogs onto white card. Colour, then fussy cut around the outline.

Use a craft knife to cut away the card between the gift and boy, and between the legs.


Create a pocket for a gift card, and adhere the 2.75" x 3" card panel for a sentiment or handwritten message above it.


Adhere the paper circle to the card circle, then adhere them to the belly band, ensuring glue is applied only where the circle meets the belly band.


Add the Celebrate sentiment above the image.
For more inspiration check out the Stamping Bella Sisterhood page over on Facebook, where you can add your own Stamping Bella creations.
Where you can find me


No comments:
Post a Comment