Pages

Showing posts with label Fancy Fold Card. Show all posts

Thursday, 23 September 2021

Tiny Townies Under an Umbrella | Stamping Bella

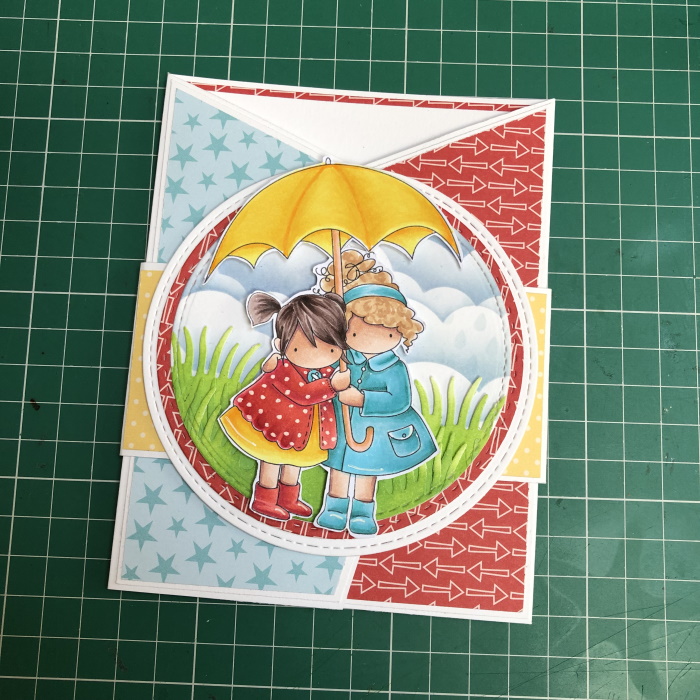
Hi! Today I'm back sharing an Angled Trifold Card featuring Tiny Townies Under an Umbrella


Supplies:
Cardstock
Designer paper (used Bella BLVD)
Scoring board and bone folder
Paper trimmer
Adhesives
Stitched Circle Dies
Grass Die
Clouds stencil (Lawn Fawn), raindrops stencil (Clearly Besotted Stamps), and ink
Embellishments of choice

How to:
Stamp Tiny Townies Under an Umbrella onto white card and colour using your preferred medium. Fussy cut around the outline. 


Cut a 4" stitched circle from card, and a 3.75" stitched circle from designer paper. Adhere them together. 

On a piece of 4" square card, create a grass and sky scene. Cut out using a 3.5" stitched circle die and adhere to the other stitched circles. 


Using foam tape/dots, adhere the image to the circles panel. Set aside to work on the card. 


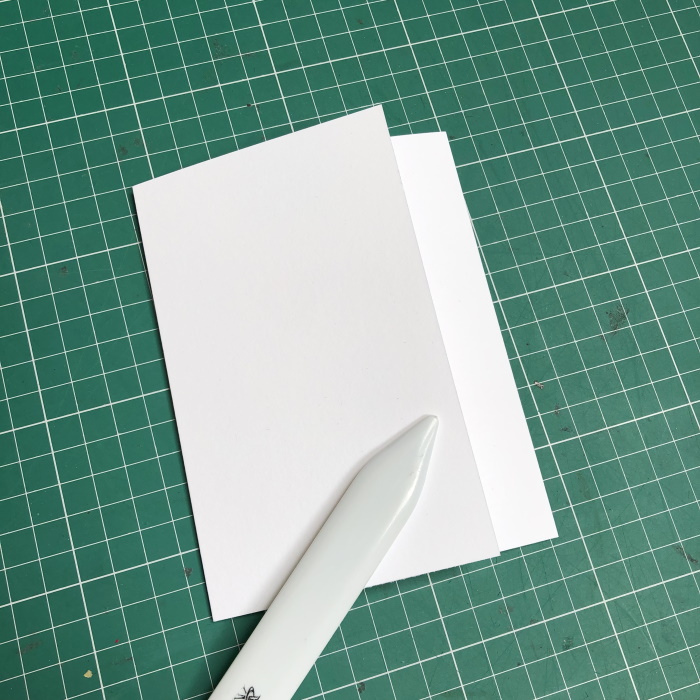
Cut a piece of card measuring 11" x 5.5". Score on the long side at 3-3/8" and 7-5/8" 


Fold and crease the score lines. 

With the card opened out flat, measuring in and mark at 1" on the bottom of both outer panels. 


Measure down and mark at 1.5" from the top of both outer panels. 


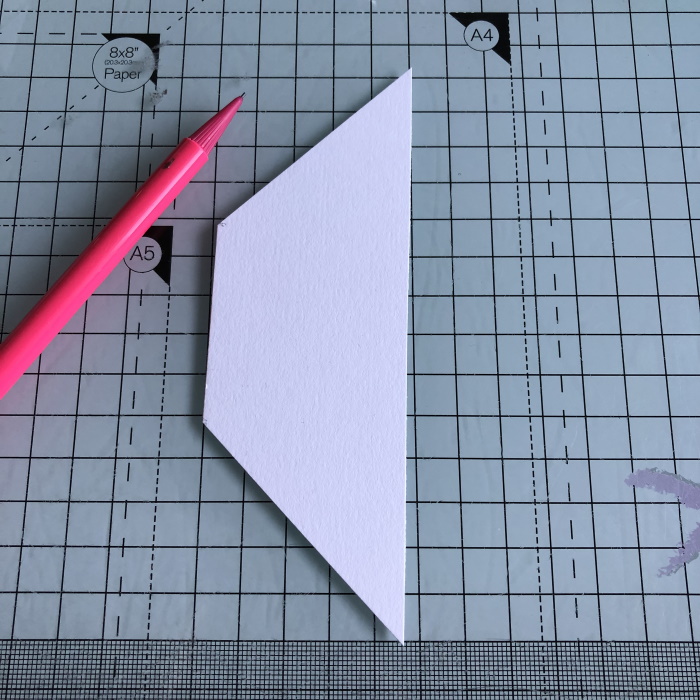
Cut from the score lines diagonally to the 1.5" pencil mark, and then from the 1.5" mark diagonally down to the 1" mark on the bottom. Repeat on both ends of the card base. 


To create the card layers, put a piece of card underneath the side panels and use a pencil to draw the outline. Cut at 1/8" inside the pencil lines. Repeat for the other side. 


Use the card layer as a template for the paper layers, cutting 1/8" inside the pencil lines again. 


Adhere both the card and paper layers to the card front. 


To create a belly band, cut a piece of card approx 11" x 2". Centre across the card then wrap around the card, ensuring it's loose enough to move up and down. 


Remove from the card and crease the score lines, then  adhere the ends of the card strip. 


Cut two pieces of paper measuring 4.25" x 1-7/8" and adhere front and back of the belly band.


Remove the band from the card and adhere image panel to the front of the band only. 


On the inside, adhere a 4-1/8" x 5-3/8" piece of designer paper to the centre panel, then adhere a 3-7/8" x 5-3/8" piece of card on top of it. Stamp the sentiment from Tiny Townies Under an Umbrella into the centre and decorate as desired. 


Close up the card and slide the belly band back on. 


Decorate with some enamel dots. 


For more inspiration check out the Stamping Bella Sisterhood page over on Facebook, where you can add your own Stamping Bella creations.

My Social Media Sites


Thursday, 24 September 2020

Tricorn Unicorn Card Tutorial | Stamping Bella

Hi all. Today's Stamping Bella tutorial is a Tricorn Unicorn Card. I haven't used these gorgeous stamps in so long, and I knew this shaped card would be perfect for a unicorn. This awesome little fella is from the Unicorn Sentiment Set 


Supplies:
White Card
Patterned Papers
Scoring board and bone folder
Pencil, ruler, embossing tool
Scalloped and Stitched Circle Dies
Adhesive and foam tape/dots
Embellishments

How to:
Stamp the Unicorn from the Unicorn Sentiment Set on to white card


Colour using your preferred medium


Fussy cut around the image or use the coordinating Cut-it-Out Die


Cut 2 circles approx 2.75" in diameter. 
One one of the circles, create some clouds using a stencil and distress oxide ink. 


Ink the other circle with green oxide inks. 


Cut some grass uing a grass border die. Apply some green ink to the bottom of the clouds circle


Layer the grass onto the clouds to create a scenic background for the Unicorn. 


Adhere the Unicorn using foam tape/dots. Set aside to work on the card base. 


Cut a piece of card measuring 6" x 8". On the 8" side, score at 2" and 6"


Flip the card over and score at the 4" mark. 


With the card in portrait position, measure in 2" from each side on the 2" scoreline and mark with a pencil or embossing too. Repeat on the 6" scoreline. 


Score from the top left corner down to the 2" mark, and from the top of the 4" scoreline down to the same 2" mark. Repeat as shown below. 


Fold in half on the 4" scoreline and crease well. 


Fold back the 2" and 6" scorelines. 


Carefully fold back all the diagonal scorelines. 


Apply adhesive to one side of the centre section and fold the card in half again. 


Burnish well. 


Crease the diagonal scorelines again 


Cut six pieces of white card measuring 1 7/8" x 5 5/8" 


Position one of the card strips on the card front and use a pencil to mark the short side. 


Cut from the pencil mark to the outer corners.


Use this piece as a guide for cutting the other five strips. 


Adhere four of the strips onto the panels at the back of the card. 


Cut two pieces of paper measuring 1.75" x 5.5" for the two front card panels. Use the white card strips as a guide for cutting the angle of the paper pieces. 


Adhere the panels to the card front. 


Stamp a sentiment from the Unicorn set onto a strip of paper


Adhere the scalloped circle with the unicorn onto the centre of the card base using foam tape/dots. 


Apply adhesive to each end of the sentiment strip and adhere just beneath the circle. 


Embellish as desired. 


For more inspiration check out the Stamping Bella Sisterhood page over on Facebook, where you can add your own Stamping Bella creations.

My Social Media Sites