Hi all, Today I am sharing how I made this Back to School Folio Card featuring Curvy Girl is Busy. This folio card is a great teacher's gift or even a keepsake for yourself. It is a 5" x 7" size, and not too bulky, so it's great for mailing too.
The papers used are Piatek Trzynastego (P13) Hello Autumn. I just love the colours.


Supplies:
Designer papers
Black card
Scoring board, bone folder.
Pencil, ruler, eraser
School themed stickers
Magnets
Enamel dots
How to:
Stamp Curvy Girl is Busy onto white blending card and colour using your preferred medium.


Cut:
Black card:
10" x 7" (base)
5" x 7" (front flap)
2" x 5.25" (small inside pocket)
8.5" x 4" & 7.75" x 3.5" (booklet pages)
5" x 5" (large inside pocket)
Paper:
(4x) 6.75" x 4.75" (base)
(2x) 6.75" x 3.75" (front flap)
1.75" x 4.5" (small inside pocket)
(3x) 4" x 3.75", (2x) 3-5/8" x 3.25" and (2x) 3-3/8" x 3.25" (booklet pages)
4-3/8" x 4.25" (large inside pocket)
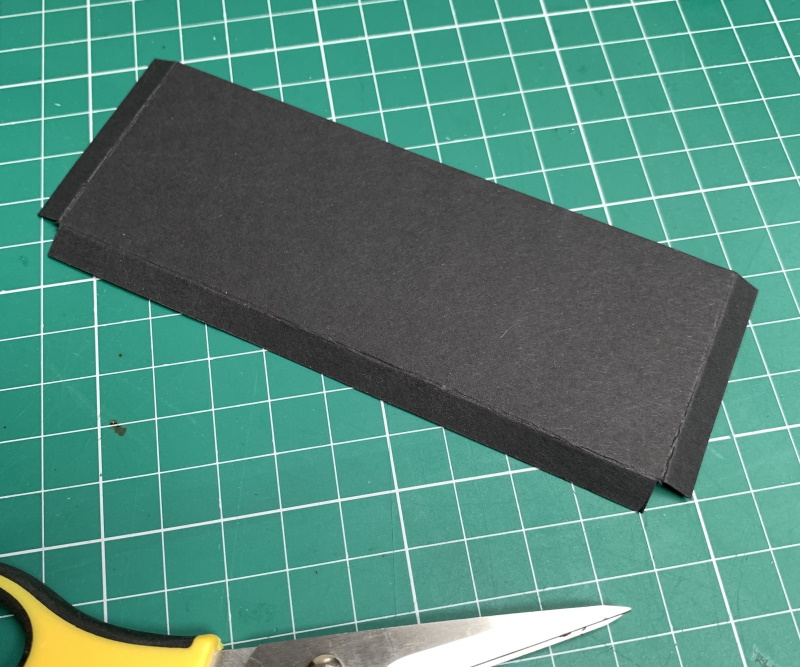
To make the front flap, score the 5" x 7" piece of card at 1" on the short side


Cut from the 3.5" notch to the 1" notch on the outer edges. Fold in the 1" score line and burnish well.


Slide the card base into the flap and adhere the 1" section of the flap to the back of the card. Open up the card and adhere two of the 6.75" x 4.75" pieces of paper.


Take the 5.25" x 2" piece of card and score at 0.25" on each of the short sides and one of the long sides.

Fold in both side and burnish well, then apply a little dot of glue to the bottom 0.25" section and fold up.


To make the booklet, fold the 8.5" x 4" & 7.75" x 3.5" pieces of card in half. Round the outer edges.

Apply adhesive to the back of the larger pages and adhere down on the inside left, leaving approx 0.75" gap between it and the pocket at the bottom of the page. Adhere the paper layers to the inside and outside.


Place the 6.75" x 3,.75" piece of paper on the inside of the front flap. Using a pencil, mark the centre top and approx 1/8" down on each side. Cut diagonally from the centre pencil mark down to the outside pencil marks. Repeat on the outside piece.


Fold down the flap, let it dry for a few minutes and then lift up the flap. This should leave the 2nd magnet piece stuck to the front of the card. Adhere the front paper layer over the magnet.

Cut two stitched pennants approx 6.5" long and 2.25" wide. Cut inside the stitches on the paper pennant, and adhere to the black card pennant.


Retrieve Curvy Girl is Busy and adhere to the pennants using foam tape/dots.


Embellish the inside using stickers and die cuts. As the card needs to fold up the inside elements need to be kept flat.


Finally, add some enamel dots to finish off.
For more inspiration check out the Stamping Bella Sisterhood page over on Facebook, where you can add your own Stamping Bella creations.
Where you can find me


No comments:
Post a Comment