Pages

Showing posts with label Copic EU. Show all posts

Thursday, 6 August 2020

The Littles Happy Fall | Copic Marker Europe

Hi all. 
Today I'm sharing  a card I made for Copic Marker Europe. The card features The Littles Playing in the Leaves from Stamping Bella. The sentiment is from the Fall Sentiment set.


First I stamped the image onto Perfect Colouring paper with Memento Tuxedo Black ink. 


As always, my skin colours are E00, E11 and E04. 
These images are very small and I don't do cheek colour on them. 


Hair: E50, E51, E53, E55. 


To give the leaves an autumnal feel I used oranges, reds, yellow, greens
Red - R32, R35, R37
Green - YG11, YG13, YG17
Orange - YR12, YR16, YR18
Yellow - Y11, Y15, Y38


For the grass I used a contrasting green to the leaves - 
G20, YG11, YG21, YG23, YG25


Dress - BG01, BG53, BG45, BG57
Scarf - YR14, YR16, YR18
I applied a little bit of white gel pen for highlights. 


To create the clouds I used my copics instead of inks. 
First I used B01 and a stencil to draw the lines for the clouds. 


Then with B00 I coloured out further from the line


I brought colour out even further with B000 and then I brushed over it with the colourless blender to soften the lines. 


Finally I expanded the grass area before cutting the image out using a pierced rectangle die. 


Other products used:
Pierced rectangle Die
Pennant Die
 Paper - Clearly Besotted Stamps. 


For more inspiration check out the Stamping Bella Sisterhood page over on Facebook, where you can add your own Stamping Bella creations.

My Social Media Sites
   

Monday, 6 July 2020

You Really are the Sweetest | Copic Marker Europe

Hi all. Today I'm sharing the tutorial I did for Copic Europe Blog, which is a  technique known as underpainting - using greys and blues to create a base under subsequent layers of colour. The stamp set I'm using is Your Favourite Icecream from Create a Smile Stamps.


I stamped all the elements of the ice cream separately for dimension, but another option is to use masking paper and layer them as one piece. I used Perfect Copic Paper and Memento black ink. 


For the underpainting I started with C1 to mark out where I wanted to lay the shadow


I applied some C3 and then B41 to create my darker areas. 


Once the underpainting is done I coloured the ice cream red, yellow and brown. 


For the cone I used E53, E55 and E21. 


When I had my marker work done I used pencils to add fine detail and highlights. 


On the red layer I used a chalk marker to add white sprinkles. 


I popped the icecream up on foam tape on the front of the card and added a sentiment. 


Thanks for dropping by. I hope you are inspired to colour something today. 
Sandie
xXx

Saturday, 7 March 2020

Take Time for Yourself | Copic Europe DT

Hi everyone! Today I'm sharing my colouring of a little scene I created using some masking to bring two stamps together. I used Fall Window and Gnome Backdrop and changed the scene outside the window. 


To change the scene was an easy process, but I didn't take any pictures of it so I will explain. 
First I covered the centre part of the Fall Window stamp with a piece of card while I inked it up. No ink got on the centre part. I stamped the window onto Perfect Colouring Paper using memento black ink. I stamped the window again onto some regular copier paper, I cut out the centre piece, leaving a hole, and placed the paper over the original stamped image. Then I stamped the gnome backdrop. As all the image was covered with the copier paper, except for the centre part, only part of the image transferred. 

Once I had the images merged I started the colouring process, beginning with the grass. 
I tried a different combination of YGs on this one, I normally use G's and finish with YG03. 

I started with YG17, which is quite dark, and I went around the edges and under the toadstools. 


I then applied YG23 dragging out some of the YG17 too. 


My lightest colour was YG13. 


For the ground I used E41, E42, and E43
When I had all the colours down I dotted the E42 and E43 to add some texture. 


On the flowers I used 2 shades of blue and 2 shades of pink. 
B91, B34. R81, R83 


For the toadstools I first coloured the underneath and the stalk using E41, E42, and E43. Then I coloured the top using R35 and R37. 


I coloured the sky using B01 and B00. 
When using red I would normally first colour around the element I'm going to colour in red as red is easily transferred onto lighter markers and gets dragged out. So when going around red, be very careful not to hit the tip of the marker off of it. 


I left the window white, I simply applied C1 and C3 for shadow. 


I coloured all around the window using R12, and applied E97 for darker areas. 


Behind the window, to give the appearance of frosted glass, I first coloured in R01. I then went over the R01 with BG10, and then went back in with R01. I applied R12 for shadow, and finally some BG11. 


Lastly, I went around the window with E93


That's it from me for today. 
Thanks for dropping by. 
Sandie

My Social Media Sites
   

Wednesday, 11 October 2017

Littles Haunted House Scene
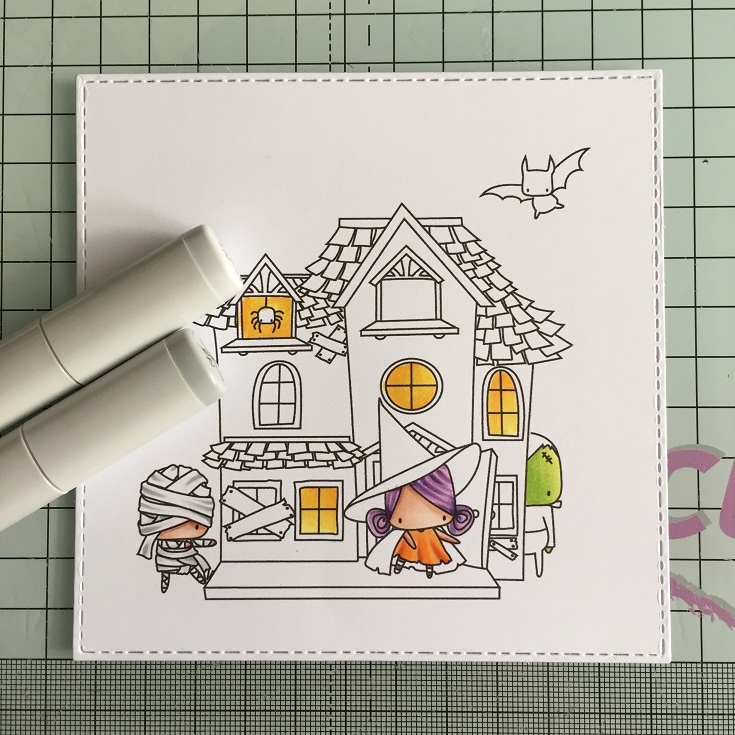
Hi everyone! Today I am sharing a I made for the Copic Europe DT, featuring the Littles Haunted House scene, by Stamping Bella


I started this image as I start all my images, and that is with colouring any characters, specifically the skin.

The colours are E00, E11, E04

For the green skin I used YG21, YG23, YG25


I gave the witch purple hair using V12, V15, V17


Dress: YR12, YR14, YR16, YR18


I coloured some of the windows with light in them. 
Y13, Y15, Y17


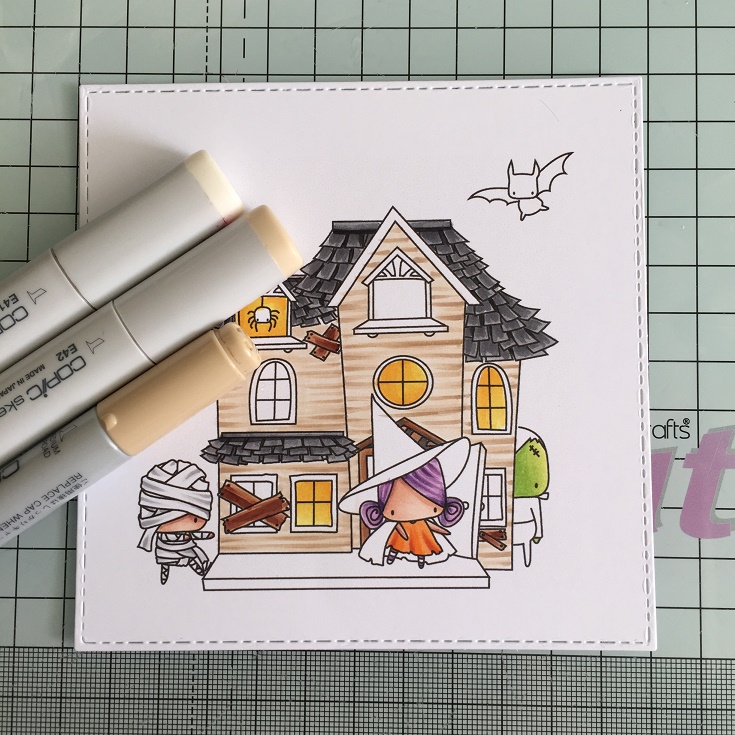
For the Mummy I used N1 and N3 and blended them together using the colourless blender. 


On the wood I used E21, E33 and E27


For the roof  I started with N3 and then laid down some N5 for the shadows. At the very end I applied N7 in the darkest areas. 


I gave the house a wooden effect using E41, E42, E43 and pulling the lines in from the outside edge towards the middle. 


For the window and door frames I used E21 and E33 and then added some shadow with N3 and N5


To complete the image I coloured everything else in black, using N1 through to N7


For the background I started with the ground, laying down some W1 and then building up with W3 and W5. 
Keep layering the colours until you're happy with how it looks. 


I decided to add a moon to the night sky, behind the bat, so I drew a circle with B000 as a guide for the sky. 


As with the ground, I started the sky with the lightest colour B02 and then added darker colours to build up depth - B23, B24, B26


Finally, for the moon, I used Y00, Y11 and some YR23 to add lines. I also applied some Y11 into the night sky around the moon, going back in with the blues to build up the colour again. 


Thanks for dropping by today

My Social Media Sites