Hi all! For this week's Stamping Bella Tutorial Thursday I am making a Camera Photo Album Box. There will be an album for inside the box and that will follow next week. On the album box I featured one of the character stamps from A Tale of Two Rosies Rosie's adventures with Bernie are definitely album worthy! While this would make a great gift for any occasion, I especially like the idea for a travel album.


Supplies:
Black card
Patterned Papers
Scoring board and bone folder
Circle dies
Corner rounder
For the box base:
(1x) 8-1/8" x 10-1/4" black card
(1x) 3" x 8-1/4" black card (lid)
How to:
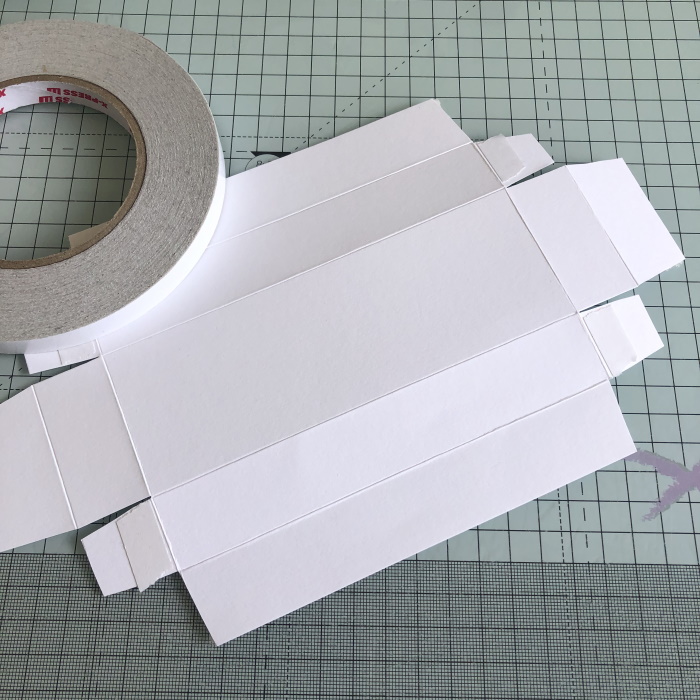
Score the 8-1/8" x 10-1/4" piece of black card at 0.5", 4-5/8", 5-5/8" and 9-3/4" on the long side, and at 1" and 7-1/8" on the short side.
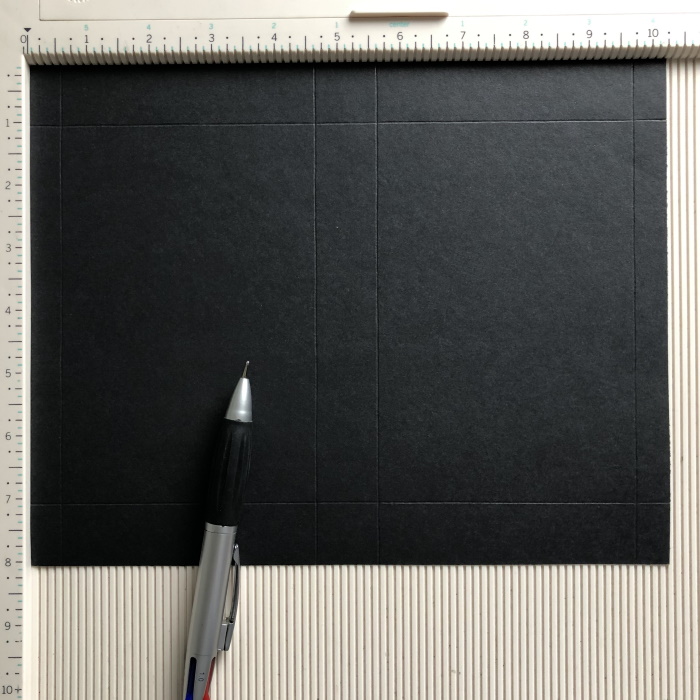
Score the 3" x 8-1/4" piece of black card at 1" and 2" on the short side, and at 1" and 7-1/4" on the long side.

Fold and crease all the scorelines.

Cut the 4-5/8" and 5-5/8" score lines up to the intersecting line on both sides of the box base. On the lid, cut on the 3" side on the 1" and 2" scorelines up to the intersecting scoreline, on both ends.

Taper the edges of the 1" tabs on both pieces.

On the 8-1/8" side of the large piece, cut the corner 0.5" section, up to the intersecting scoreline on one end.

On the opposite end, remove the corner 0.5" pieces. The side with the corners removed will be the back of the box.

For the lid, taper the centre tabs and cut them down about 1/8"


Apply adhesive to the outside of the tabs and fold one side of the lid inwards, adhering the ends to the centre tabs.


Apply adhesive to the inside ends of the opposite side and fold inwards to create the lid.

To create the layering panels, cut:
Black card:
(2x) 6" x 4"
(2x) 4" x 7/8"
(1x) 6 x 7/8"
(3x) 6-1/8" x 7/8"
Paper:
(2x) 5-7/8" x 3-7/8"
(2x) 3-7/8" x 0.75"
(1x) 5-7/8" x 0.75"
(3x) 6" x 0.75"

Adhere the paper to the corresponding black card piece.

Adhere the panels to the front and back of the box, being mindful of any patterns that need to go in a certain direction. Adhere the 4" x 7/8" side panels on the 1" sections beside the front panel. Adhere the 6"x 7/8" panel along the centre 1" section.

On the lid, adhere the three 6-1/8" panels to the front, back and top. Cut two 7/8" squares for the ends.

Add a decorative strip on the front of lid (optional)

Apply adhesive to the outside of the 1" tabs on the box base. Fold in the back of the box over them, and adhere the to the tabs.


Apply adhesive to the inside of the 1" sections on the box front, fold up and adhere over the back panels.


Tape in the edges of all the ends of the 0.5" sections.

Apply adhesive to the inside of the 0.5" sections and fold inwards. Burnish well with a bone folder.


To create the lens for the front of the camera, cut four stitched circles, in various sizes.
On this box they are 2.5", 2", 1.75" and 1.5". Adhere them together using foam tape for dimension.


Put the lid on the box and then adhere the lens to the front of the box

Cut a piece of card measuring 1.5" x 1" and a piece of paper measuring 1-3/8" x 7/8" and round the corners on one end of each. Adhere them together. Apply glue to only the top half, and then glue them to the box lid, so that approx half is on the lid and half is on the box. Add a 0.75" stitched circle for the camera 'eye'


Set the box aside.
Stamp Rosie with the camera from A Tale of Two Rosies onto white card and colour using your desired medium.

Copics used:
Skin - E00, E11, E04,
Dress - RV55, RV63, RV66
Camera - BG45, BG53, BG57. C3, C5, C7

Fussy cut around the image.

Using foam tape, adhere Rosie to the box to the right of the lens.

Add the Smile sentiment, and any other embellishments.
For more inspiration check out the Stamping Bella Sisterhood page over on Facebook, where you can add your own Stamping Bella creations.
My Social Media Sites