Pages

Showing posts with label The Gnome and the Christmas Tree. Show all posts

Thursday, 28 July 2022

The Gnome and the Christmas Tree | Stamping Bella

Hi all! Today I'm sharing how I made this Accordion Fold Christmas Card featuring The Gnome and the Christmas Tree. Typically, the panel on this type of card is smaller and the card opens out flat on the scored side, however I made my feature panel larger as I wanted to use this particular image. It is a great display card, and folds up to fit in an envelope. 


Supplies:
White card, navy card
Designer paper (used - Echo Park I Love Winter: Warm Vibes)
Scoring board, bone folder
Adhesive
Die cuts for embellishment
Enamel dots

How to:
Stamp The Gnome and the Christmas Tree on a 3.5" x 3-7/8" piece of blending card. Stamp the sentiment underneath the image then colour using your preferred medium. 


For the card base, cut one piece of card measuring 5.75" x 11.5" 


Mountain fold the first score line, then valley/mountain/valley fold the remaining three score lines.  Crease well with a bone folder. 


For the layers, cut: 
Navy card:
(4x) 1-5/8" x 5-5/8"
(1x) 4-3/8" x 5-5/8"

Papers:
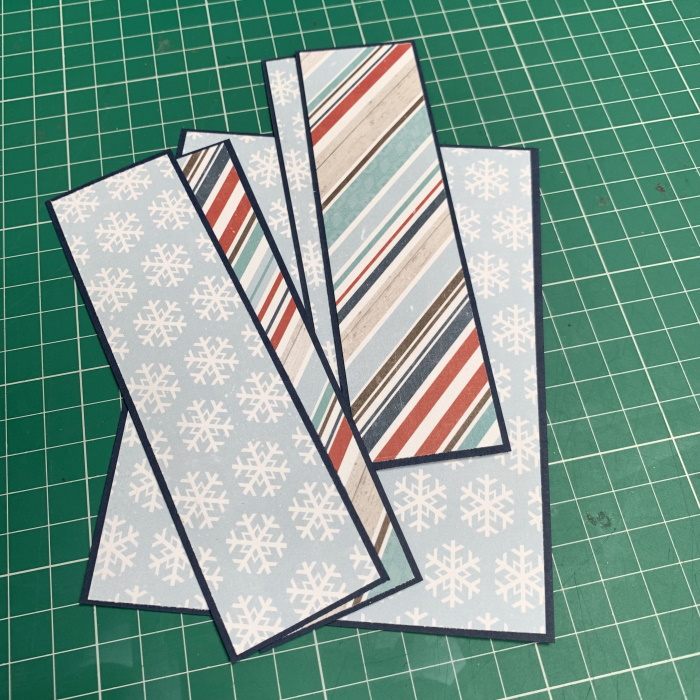
(4x) 1.5" x 5.5"
(1x) 4.25" x 5.5"

White card: 
(1x) 3-7/8" x 3-7/8" (greeting panel)


Adhere all the paper layers to the navy card layers and then adhere to the card base. 


For the small card base, cut:
Navy card:
(1x) 4.25" x 8"

White card:
(2x) 4-1/8" x 3-7/8"

Paper:
(2x) 4" x 3.75"

Score the navy  card piece at 4" and fold in half. 


Adhere the paper layers to the white card pieces and then adhere to the outside of the navy card. 


Position the small card layer so that the folded sections are inside it. 


Apply adhesive to approx 1.25" on the inside end of the smaller card and adhere to front 1.75" section. Open up the card and adhere the other side of the smaller card to the last 1.75" section. 


The two 'mountains' should be in the smaller card. 


Open up  the card and decorate the inside as desired. 


Using foam tape, adhere the image to the front of the card. 


Adhere the greeting panel on the inside back, positioning it up so that it can't be seen when the card is closed. Add some flat elements. 


Finally, add some enamel dots either side of the sentiment. 


For more inspiration check out the Stamping Bella Sisterhood page over on Facebook, where you can add your own Stamping Bella creations.

Where you can find me


Tuesday, 16 November 2021

Stamping Bella November 2021 New Release Previews - Day Two


It's Day Two of Stamping Bella's FINAL RELEASE of 2021!!

Over 3 days the Stamping Bella Design Team will be sharing sneak peeks of all the new stamps, which will be released on Thursday November 18th. If you missed Day One, CLICK HERE

Today I have another selection of cards to share.

The Gnome and the Christmas Tree 


Tangled Gnomes


Teeny Tiny Townie with an Ornament


Oddball Homesteaders


That's it from me for today. Be sure to pop back tomorrow for Day Three of sneak peeks. Meanwhile, check out the rest of the Design Team's samples over on the Stamping Bella Blog

For more inspiration check out the Stamping Bella Sisterhood page over on Facebook, where you can add your own Stamping Bella creations.

My Social Media Sites