Hi all! Today I'm sharing how I made this Accordion Fold Christmas Card featuring The Gnome and the Christmas Tree. Typically, the panel on this type of card is smaller and the card opens out flat on the scored side, however I made my feature panel larger as I wanted to use this particular image. It is a great display card, and folds up to fit in an envelope.


Supplies:
White card, navy card
Designer paper (used - Echo Park I Love Winter: Warm Vibes)
Scoring board, bone folder
Adhesive
Die cuts for embellishment
Enamel dots
How to:
Stamp The Gnome and the Christmas Tree on a 3.5" x 3-7/8" piece of blending card. Stamp the sentiment underneath the image then colour using your preferred medium.


Mountain fold the first score line, then valley/mountain/valley fold the remaining three score lines. Crease well with a bone folder.

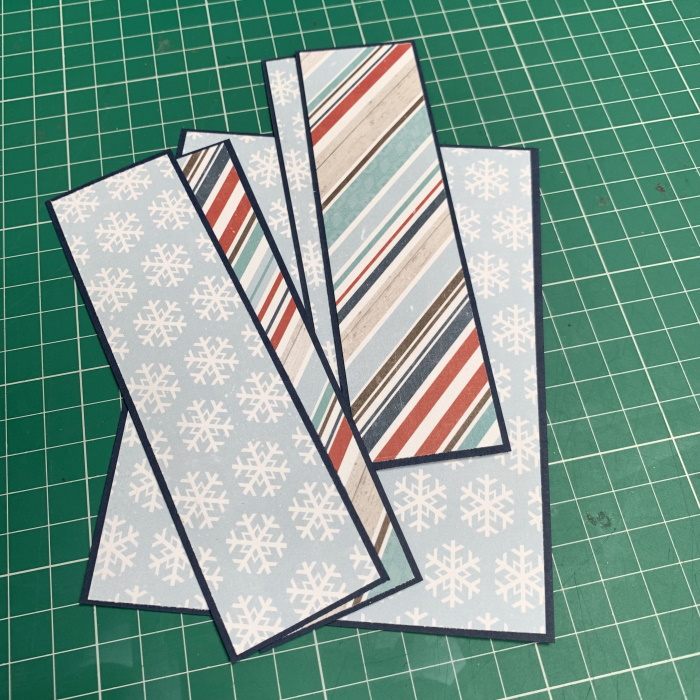
For the layers, cut:
Navy card:
(4x) 1-5/8" x 5-5/8"
(1x) 4-3/8" x 5-5/8"
Papers:

For the small card base, cut:
Navy card:
(1x) 4.25" x 8"
White card:
(2x) 4-1/8" x 3-7/8"
Paper:
(2x) 4" x 3.75"
Score the navy card piece at 4" and fold in half.


Apply adhesive to approx 1.25" on the inside end of the smaller card and adhere to front 1.75" section. Open up the card and adhere the other side of the smaller card to the last 1.75" section.


Adhere the greeting panel on the inside back, positioning it up so that it can't be seen when the card is closed. Add some flat elements.

Finally, add some enamel dots either side of the sentiment.

For more inspiration check out the Stamping Bella Sisterhood page over on Facebook, where you can add your own Stamping Bella creations.
Where you can find me


No comments:
Post a Comment