Hi! Today I have another Stamping Bella tutorial for you. I've wanted to make an Interactive Journaling Folio for quite some time and when I saw this Jounaling Mochi Girl, I knew she'd be perfect for the cover. It's quite a long and picture heavy post so grab a cuppa and make yourself comfortable :)


Supplies:
Chipboard
Heavy card
Patterned papers
Scoring board and bone folder
Elastic twine
Adhesives - wet, double sided tape, foam tape/dots
Embellishments
How to:
To make the folio base, cut 2 pieces of chipboard measuring 4.5"W x 6.5"H, and one piece measuring 1"W x 6.5"H.
Adhere the chipboard to a piece of patterned paper measuring 12"W x 8.5"H, leaving approx 1/8" gap between the centre spine and the outer pieces.


Cut away each of the four corners of patterned paper as shown.

To ensure a neat and tidy fold, first fold up the paper over the bottom of the chipboard, and crease with a bone folder without sticking it down.

Apply double sided tape to the inside of the paper and fold it back up, adhering it to the chipboard. Burnish well.

Repeat on the top of the chipboard.

Use a bone folder to make a crease on each side of the spine.

Using a bone folder, crease the corners so that it folds neatly. Cut away and excess as desired.

Fold in the ends of the paper and crease well. Open it back up, apply double sided tape, and fold it back over, burnishing well. Repeat on the other end.

Very gently, rock the back and front of the folio, closing it a little further each time until it resembles a ring binder folder. This ensures you don't rip the paper.

For the inside, cut 2 pieces of paper measuring 4 3/8"W x 6 3/8"H and adhere them to the inside of the front and back. Mine were a little narrower, hence the bare chipboard on the edges. Cut a piece of paper to cover the spine - approx 2"W x 6 3/8"H. Apply wet glue along the spine, and on the paper and adhere it down.


Use a bone folder to crease along each side of the spine.

To create the folio pages, cut some cream card:
1 piece 6.25"H x 4.75"W - scored at 0.5" and 0.75" on the 4.75" side.
1 piece 6.25"H x 5-1/8"W - scored at 0.5" and 1" on the 5-1/8" side
5 pieces 4"H x 3.75"W

Take the 6.25"H x 4.75"W piece and apply wet glue to the 0.5" section.

Fold the 0.5" section under and adhere to the right side edge of the front cover, ensuring not to cover the spine.

Score all five 4"H x 3.75"W pieces of card on the 4" side at 0.5"

Round the corners on the opposite end to the scoreline.

Apply glue to the 0.5" section, fold it under, and adhere it to the front of the page you just inserted.

Repeat with all five pieces, gluing each one down directly under the other.

Fold them all down to make a waterfall.

Take the 6.25"H x 5-1/8"W piece you scored at 0.5" and 1" and apply adhesive to the 0.5" section. Adhere it to the left inside of the front cover. Fold over, to cover the waterfall.


For the inside right of the base, cut 2 pieces of card measuring 4-3/8"H x 6.5"W. On the 6.5" side, score both at 0.5" and 1". Fold the scorelines.

Adhere one piece to the top of the inside back, and other one to the bottom of the inside back, leaving a little border top and bottom.
Cut two more pieces of card measuring 5"W x 6.25"H. Score on the 5" side at 0.5" and 1". Again, fold the scorelines, apply wet glue to the outer 0.5" section and adhere them to each side of the inside back.

Fold each side in.

Cover the 0.5" pieces of card for a tidier finish.

To make a closure for the waterfall side, cut a piece of card measuring 2"H x 4.5"W. Score at 0.5" and 0.75" on the 4.5" side.

Lift up the waterfall and adhere the closure underneath.

Fold everything back up, and then fold over the closure.

Because I didn't want to punch holes in the folio, I took a length of twine, wrapped it around the folio and tied it to size.
On the back, using double sided tape, secure the knot and the excess.

Cut a piece of the chipboard measuring 2"H x 4.5"W, apply foam strips leaving a ravine for the elastic and adhere it down across the back, trapping the elastic in between the strips. Set the folio aside.

Stamp the Journaling Mochi Girl onto white card and colour using your preferred medium.


Fussy cut the image.

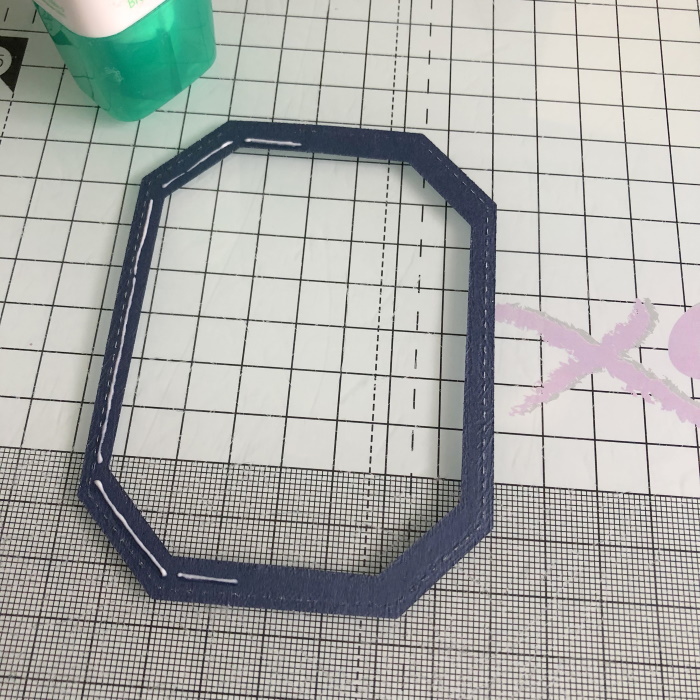
Cut a rectangle approx 5.5"H x 3.75"W. (Die used- Sweet Feline by Mama Elephant.)

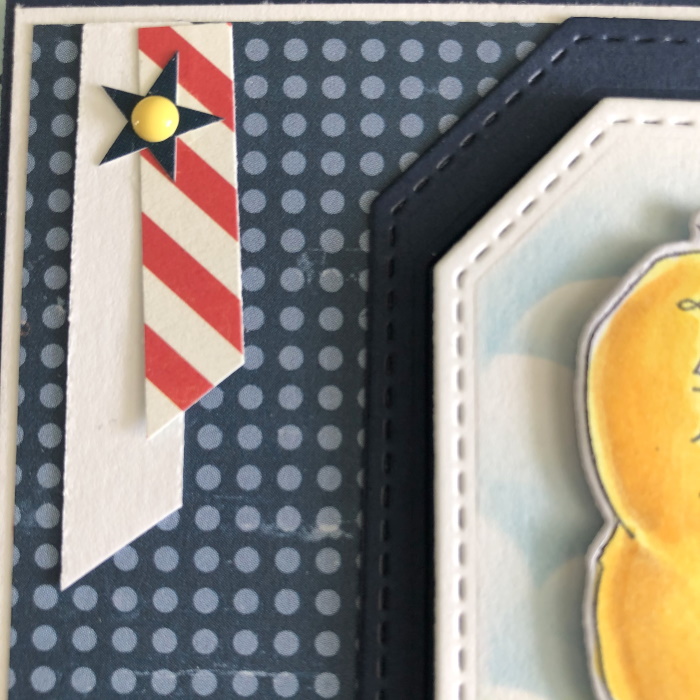
Create a work surface and background using designer paper.

Adhere to the front of the folio, using a deep foam tape, so that the elastic will slide under. Ensure to keep the tape away from the edges of the rectangle or the elastic will catch on it.

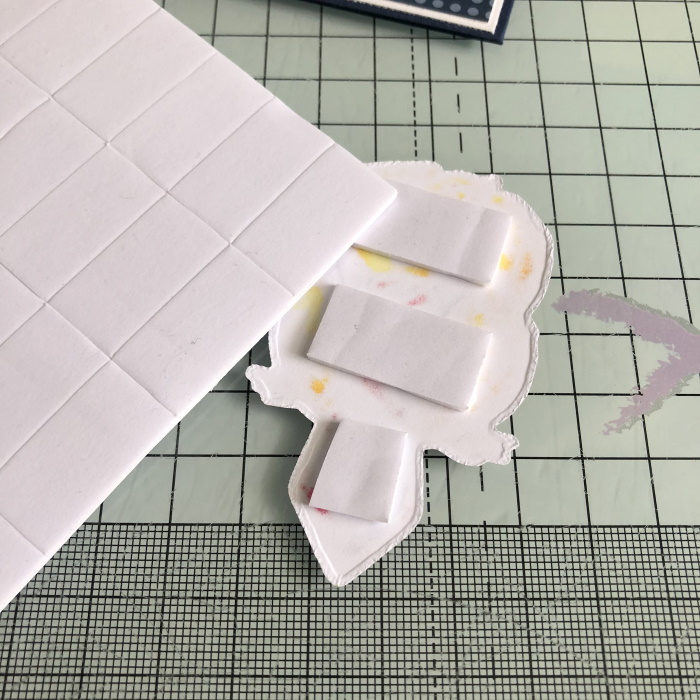
Adhere Journaling Mochi Girl to the front using foam dots.

Stamp the sentiment from Mochi Girl Sentiments onto some coordinating paper and adhere over the chipboard securing the elastic on the back

Embellish as desired and decorate the inside pages for photos and journaling.

For more inspiration check out the Stamping Bella Sisterhood page over on Facebook, where you can add your own Stamping Bella creations.
My Social Media Sites