Hi all. Today I'm sharing how I made this Interlocking Gatefold Card for Stamping Bella's Tutorial Thursday. Father's Day is coming up on June 21st so Father's Day Chick was the perfect image to use. The CUT-IT-OUT Die is still currently available for this stamp, but once it's gone it won't be restocked.


Supplies:
Navy blue card
White card
Patterned papers (Echo Park, Little Boy)
Octagon Die
Adhesive & foam tape/dots
Star stickers
Enamel dots
Gift Card
How to:
For the gatefold card base, cut one piece of navy blue card measuring 11" x 4.25". Score at 2.75" and 8.25"

Fold in the outer pieces and make sure they meet in the middle.

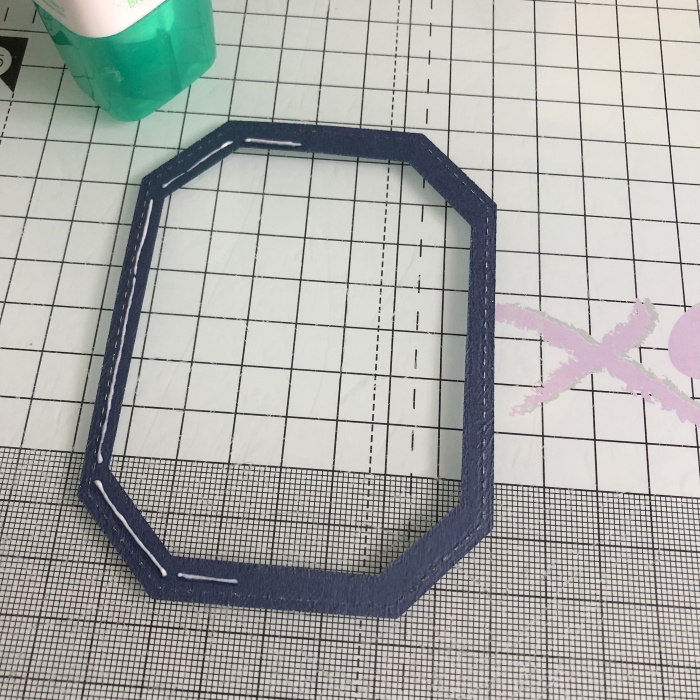
Cut an octagon shape (approx 4"H x 3"W) from the blue card. You can use any shape you want, as long as the image fits.

Take a smaller octagon die (approx 3.5"H x 2.5"W) and cut out the centre of the larger one, to make the frame.

Cut a piece of white paper/card for your image using the 3.5" x 2.5" octagon die.
I decided after I did this that I was going to use the Chick Die - therefore, I didn't need to cut out the octagon.

Stamp the Father's Day Chick onto the white card and colour using your desired medium.


Cut a piece of white card using the smaller octagon die.

Using distress oxide inks, create a grass/sky background.

Adhere the white card to the smaller blue octagon you cut from the centre of the big one.
Set aside for now.

Cut 2 pieces of white card measuring 4-1/8" x 2-5/8" and 2 pieces of patterned paper measuring 4" x 2.5". Glue each of the paper pieces to each white card piece to make 2 panels, and glue them down to the front of the card.

Place the frame into the centre of the card and insert the background scene. Do not sick them down.
Move them around until you hare happy that the are centered. Lift out the centre piece and apply glue to the back of the right side - you only want to adhere it to the right side card front.

When you have the centre piece stuck down, remove the frame and apply glue to the back of the left side of it. Put it back around the centre piece and press firmly.

To open it up, pop up the right side of the frame.

Apply foam tape/dots to the back of the image.
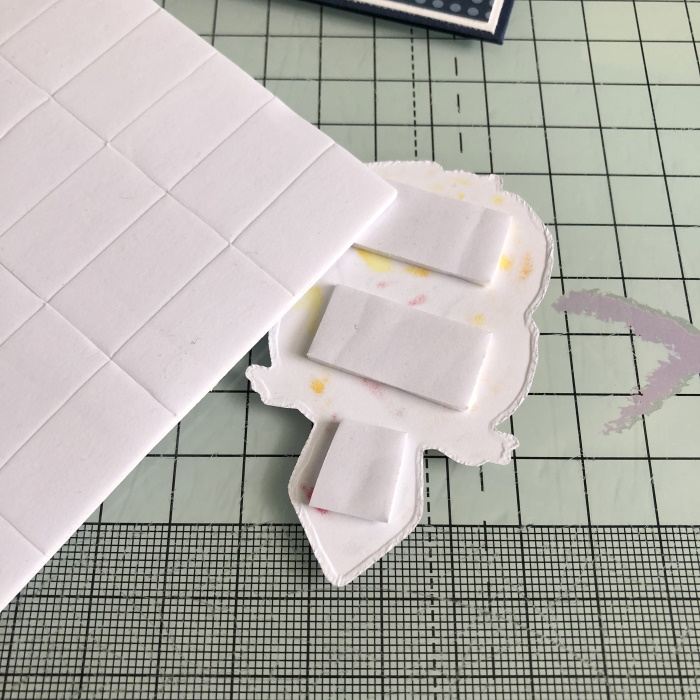
Adhere the image onto the centre piece.

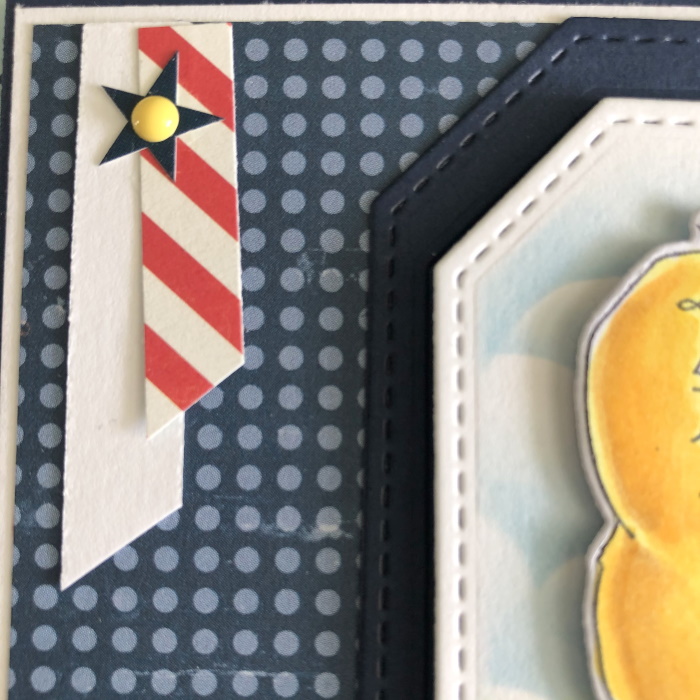
Cut a white piece of card measuring 4" x 5.25". Decorate across the bottom with contrasting paper.
I used a sticker border and some red/white striped paper. Stamp the sentiment from Father's Day Chick and adhere the panel to the inside centre of the card.

For each side, cut a piece of card measuring 4" x 2.5" and a piece of paper measuring 3-7/8" x 2-3/8"

Decorate the front of the card as desired.
To finish the card -
On the inside adhere a strip of paper measuring 2.75" x 0.5" across the side panel. Slip a gift card under the strip of paper, using a little bit of double sided tape at the back of the gift card if it moves around too much.

Thanks for dropping by today and I hope you give this one a try.
For more inspiration check out the Stamping Bella Sisterhood page over on Facebook, where you can add your own Stamping Bella creations.
My Social Media Sites


No comments:
Post a Comment